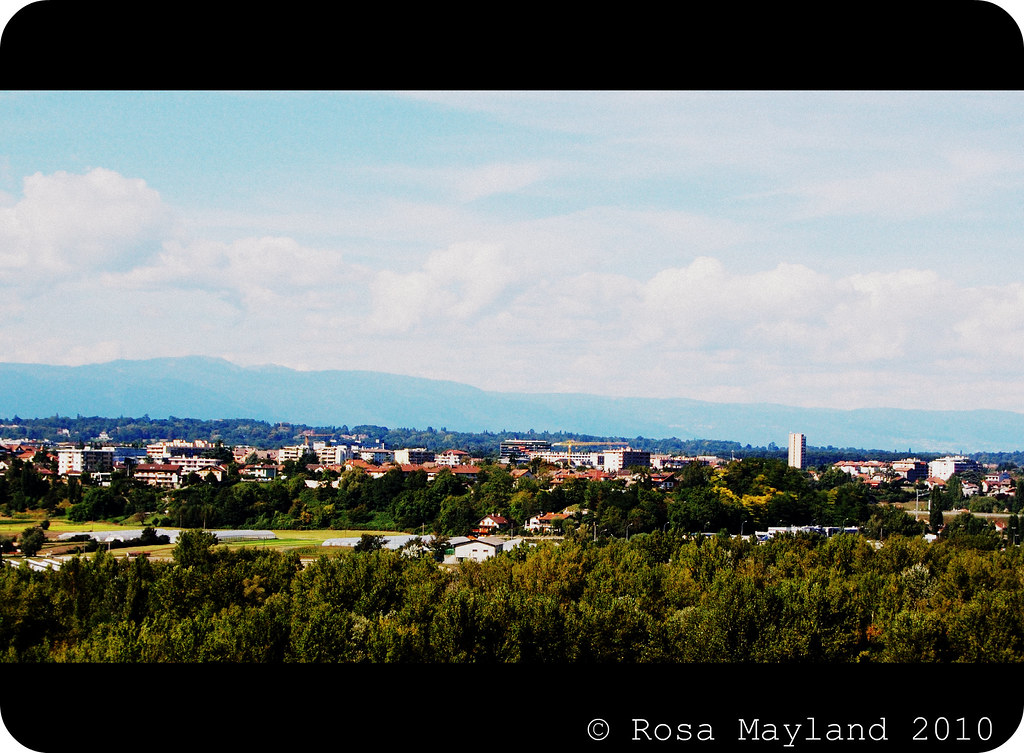
Wednesday, September 29, 2010

WHEN FALL TAKES US BY SURPRISE...

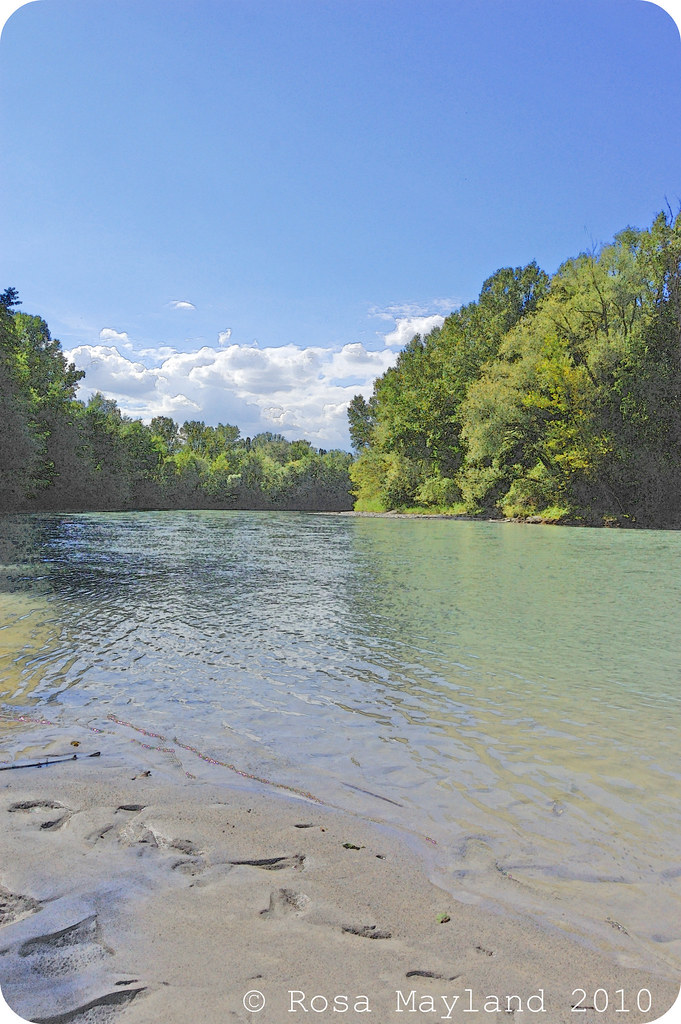
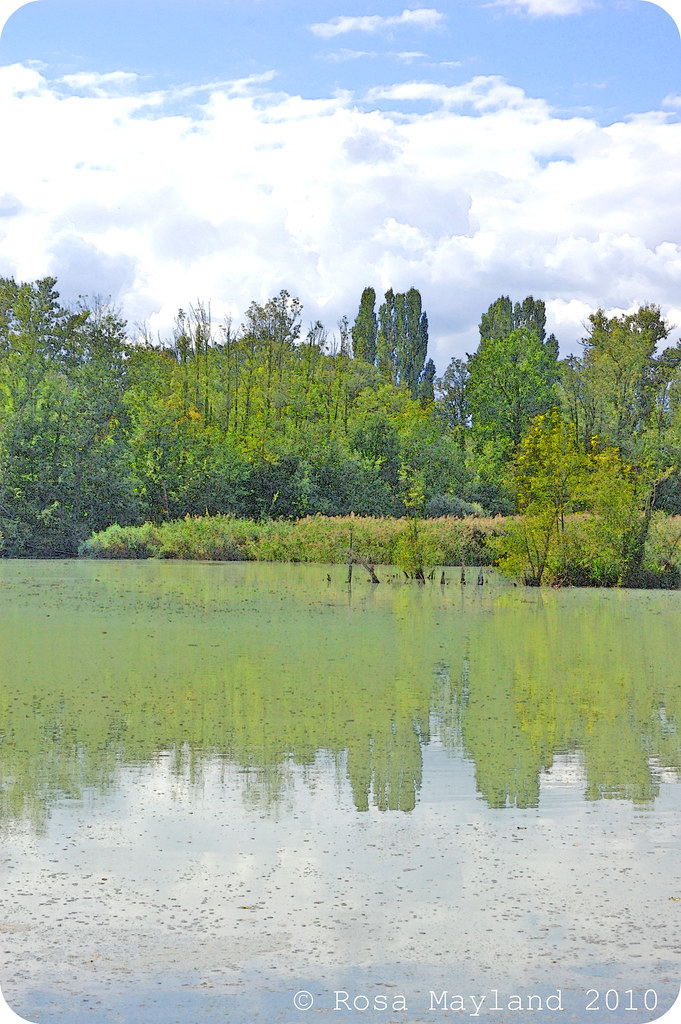
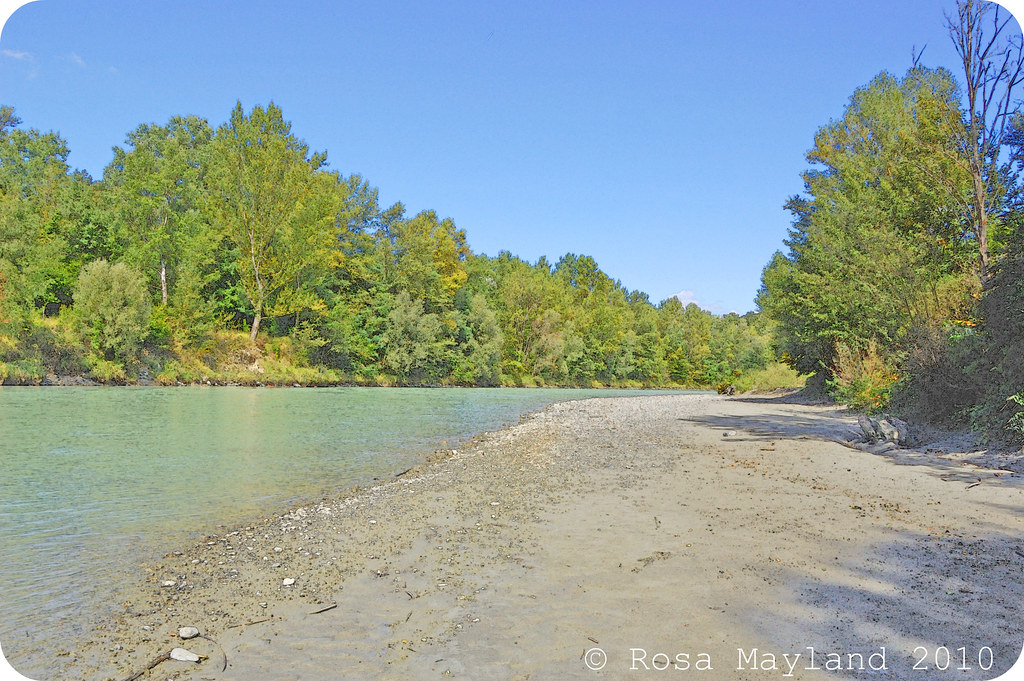
Fall is here. There is no doubt about that. It arrived on the tips of it's toes, like a ghost, silently and invisibly. It had already installed itself long before we realized that the season had actually changed. There was no need to wait for the official proclamation of autumn to see and feel the drastic metamorphosis of our environment...

Nature is transitioning at a shockingly fast speed. It is as if it knows not how to transform itself slowly. Suddenly, from one day to the other the air is crispy, the light is fading, the trees are turning yellow/red and the animals behave differently. You go to bed in the evening and it is still summer and when you you wake up the next day it is already autumn. Crazy!
"Autumn is a second spring when every leaf is a flower."
- Albert Camus
Arve Fall 4.1 bis

Arve Fall 7.1 bis

Arve Fall 5.1 bis

Arve Fall 2.1 bis

Arve Fall 6.1 bis

Arve Fall 1.1 bis

Arve Fall 3 bis

Monday, September 27, 2010

DECORATED COOKIES - DARING BAKERS

dk-group-1
Dear folks, the 27th of the month has arrived and - drum roll - that means that today is the official Daring Bakers challenge reveal day. A very exciting time for us all reckless amateur bakers!

The September 2010 Daring Bakers’ challenge was hosted by Mandy of “
What the Fruitcake?!who challenged everyone to make "Decorated Sugar Cookies" based on recipes from Peggy Porschen and The Joy of Baking.

Decorated Cookies Picnik-Collage 3.1 bis
Another short month has gone by and once again I have failed to follow my promise to bake my Daring Bakers' challenge at least two weeks before the deadline. Instead of making my recipes calmly and without being stressed by time I prefer to start thinking about it at the very last minute and panicking because I haven't bought all the ingredients as well as the ustensils needed and I realize that the trial is in fact a lot less simple than I imagined it to be...

Mostly I overestimate the quantity of work needed in order to make whatever baked good is asked for us to create and I generally freak out thinking that the challenge is far too complicated for me when in fact it is not the case. This time though I thought to myself "that challenge is damn too simple to be true". Oh, how wrong was I to assume that!

I believed that it would be an effortless task to make those "Decorated Sugar Cookies". By thinking so I forgot that I hate anything that is linked to pastry decorating and fear that kind of activity. I am not too skilled in that area as I am a total beginner and have clumsy fingers. In theory it sounded good, but in reality it was quite the opposite.

The cookies were a no brainer to prepare (a straight forward and basic job), but on the other hand decorating them felt like a real torture due to lack of material (in Switzerland such items like powdered food color and good piping nozzles are rare and quasi-inexistent - I wish I lived in the US or the UK) and experience in that domain. It took me about 4 hours to decorate my cookies. After having been very tense (trying to concentrate) and having not sat down during the whole process I felt totally drained and knackered. In the evening I fell in bed like a dead corpse and slept like a grizzly so much I was tired!

As, in Switzerland, we don't have great stores devoted to the art of baking and the choice of material is more than limited, I didn't have the opportunity to let myself go when decorating my cookies. Instead of using powdered food color I tainted my icing with icky and cheap liquid coloring which came only in three different hues (green, yellow and red) and as proper decoration bags with the small tips are not very well spread here I had to use normal plastic bags. As you can imagine, all those restraints didn't simplify the job.

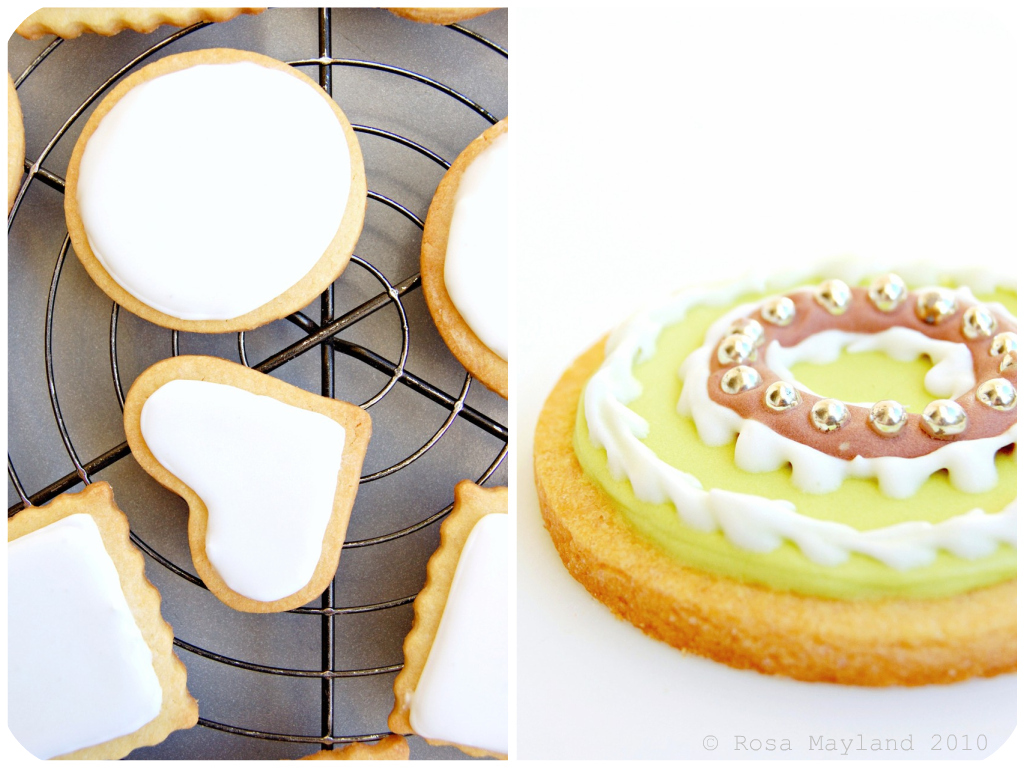
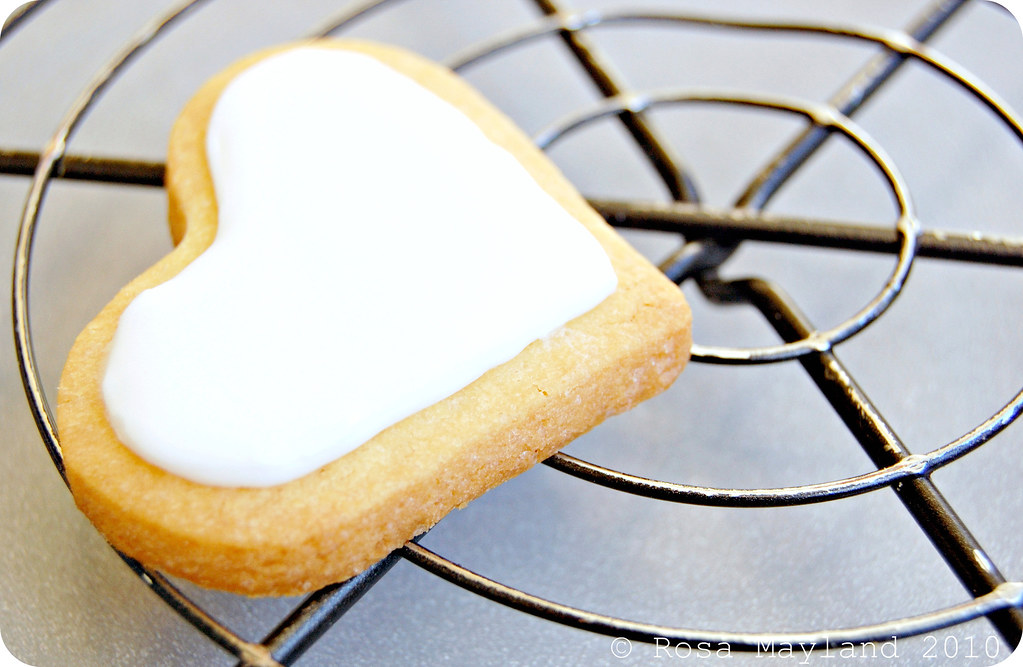
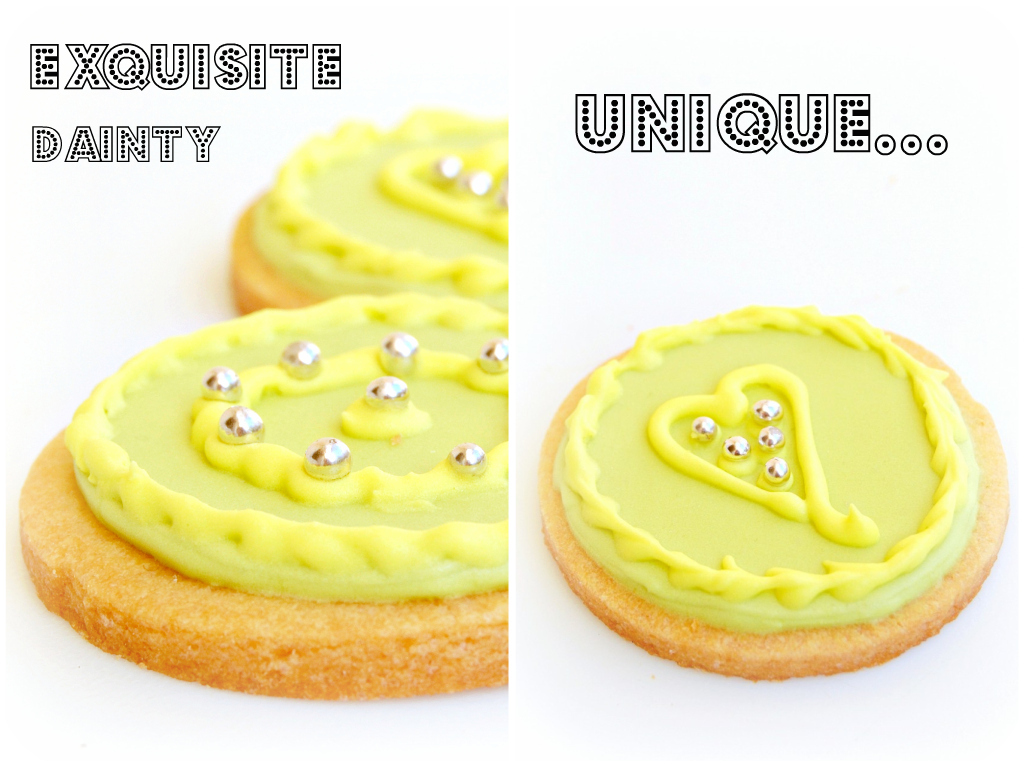
Anyway, I was determined to not let myself get taken over by my stress or influenced by bad constalletations. I refused to call it a day no matter how difficult the job was going to be. I wanted to succeed and offer no fugly cookies. And I must admit that even if my "Decorated Sugar Cookies" are far from being perfect they nonetheless look pretty good and presentable ("not bad" as my Pop would have said).

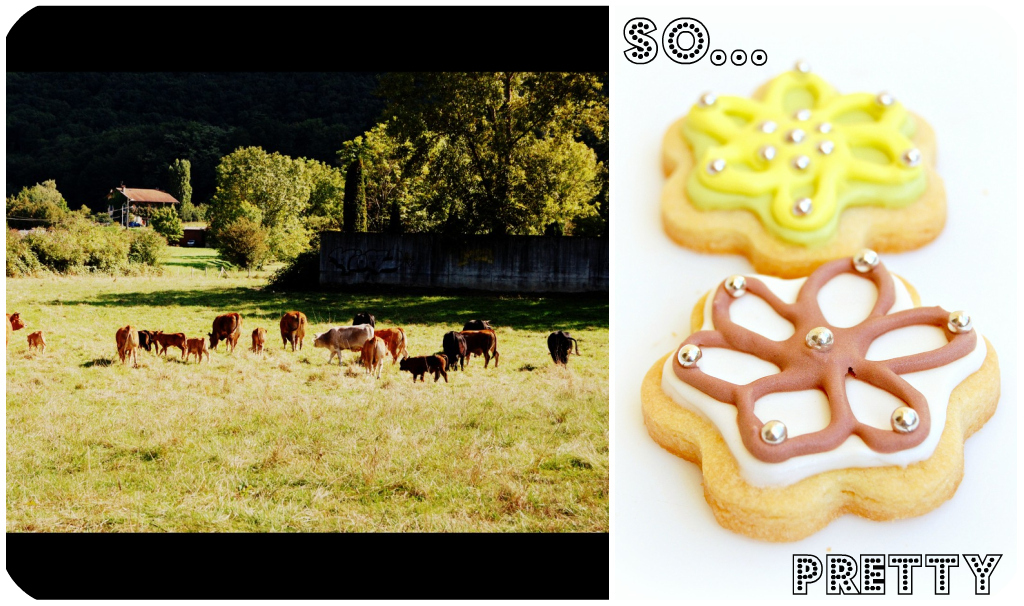
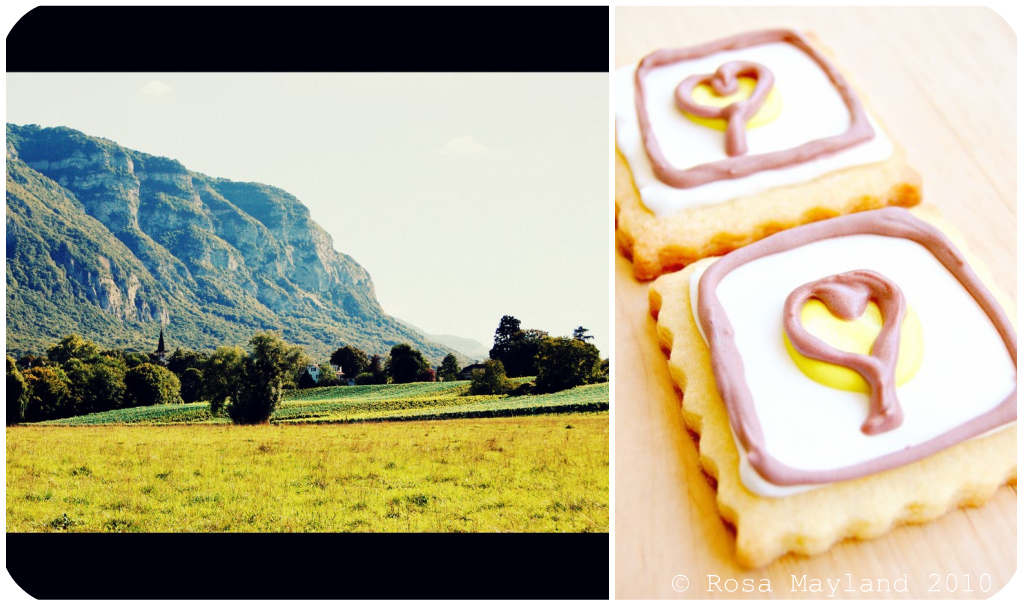
The theme of my cookies is "colorfulness", "glitter", "joy" and "flightiness". In difficult times and with the psychological effect the change of season has on us it is always good to be in high spirits. We all need a little craziness, glee and humor in our existence, something that brings us to life and makes us forget about our daily chores, misfortune and trials. We should not get caught up in the gloominess of this world we live in and in the swirls of negativity. Positivity is what keeps us going and not feeling totally hopless...

“Mirth is like a flash of lightning, that breaks through a gloom of clouds, and glitters for a moment; cheerfulness keeps up a kind of daylight in the mind, and fills it with a steady and perpetual serenity.”

- Joseph Addison, English essayist, poet, playwright and politician
I wish to thank Mandy for having chosen that awesome challenge. Thanks to her I have discovered that I am not such a bad cookie decorator and that I even have a certain hidden artistic side to my personality. Now, I am really looking forward to developping my decorating skills in the near future!

Decorated Cookies Picnik-Collage 1 bis
~ Decorated Sugar Cookies ~

Preparation Time
:
30 minutes: Making dough & rolling
1 hour min: Refrigeration
8-15 minutes: Baking per tray depending on size of cookies

Equipment Required:
- Parchment paper
- Rolling pin
- 5mm guide sticks (optional)
- Cookie cutters or sharp knife
- Baking trays
- Wire cooling rack
- Spatulas
- Mixing bowls
- Measuring cups/spoons or weighing scale
- Sieve
- Icing bags / Parchment Cones
- Sizes 1 to 5 plain icing tips (2 and 4 being the most common to use)
- Star icing tips (optional)
- Couplers (optional)
- Toothpicks
- Elastic bands

~~~~~~~~~~~~~~~~~~~~~~

BASIC SUGAR COOKIES

Makes Approximately 36x 10cm (4inch) Cookies.

Ingredients:

200g (7oz/1/2 Cup + 6 Tbs) Unsalted butter, at room temperature

400g (14oz/3 Cups + 3 Tbs) All purpose flour (plain flour)
200g (7oz/1 Cup) Caster sugar (superfine sugar)
1 Large egg, lightly beaten (63g)
5ml (1 Tsp) Pure vanilla extract (or seeds from 1 vanilla bean)

Method:
1. Cream together the butter, sugar and any flavourings you’re using. Beat until just becoming creamy in texture.
Tip: Don’t over mix otherwise you’ll incorporate too much air and the cookies will spread during baking, losing their shape.
2 Beat in the egg until well combined, make sure to scrape down the sides of the bowl. Add the sifted flour and mix on low until a non sticky dough forms.
Tip: I don’t have a stand mixer so I find it easier to switch to dough hooks at this stage to avoid flour flying everywhere.
3. Knead into a ball and divide into 2 or 3 pieces.
4. Roll out each portion between parchment paper to a thickness of about 5mm (1/5 inch/0.2 inch).
5. Refrigerate for a minimum of 30mins.
Tip: Recipes commonly just wrap the whole ball of dough in clingwrap and then refrigerate it for an hour or overnight, but by rolling the dough between parchment, this shortens the chilling time and then it’s also been rolled out while still soft making it easier and quicker.
6. Once chilled, peel off parchment and place dough on a lightly floured surface.
7. Cut out shapes with cookie cutters or a sharp knife.
8. Arrange shapes on parchment lined baking sheets and refrigerate for another 30mins to an hour. Tip: It’s very important you chill them again otherwise they’ll spread while baking.
9. Re-roll scraps and follow the above process until all scraps are used up.
10. Preheat oven to 180°C (160°C Fan Assisted/350°F/Gas Mark 4).
11. Bake until golden around the edges, about 8-15mins depending on the size of the cookies. Tip: Bake same sized cookies together otherwise mixing smaller with larg er cookies could result in some cookies being baked before others are done.
Rotate baking sheets half way through baking if your oven bakes unevenly.

12. Leave to cool on cooling racks.
13. Once completely cooled, decorate as desired.
Tip: If wrapped in tinfoil/cling wrap or kept in airtight containers in a cool place, un-decorated cookies can last up to a month.

~~~~~~~~~~~~~~~~~~~~~~

Decorated Cookies Picnik-Collage 5 bis
ROYAL ICING

Ingredients:

315g - 375g (11oz – 13oz/2 1/2 - 3 Cups) Icing sugar, unsifted

2 Large egg whites
10ml (2 Tsp) Lemon juice
5ml (1 Tsp) Almond extract, optional

Method:
1. Beat egg whites with lemon juice until combined.

Tip: It’s important that the bowls/spoons/spatulas and beaters you use are thoroughly cleaned and grease free.
2. Sift the icing sugar to remove lumps and add it to the egg whites.
Tip: I’ve listed 2 amounts of icing sugar, the lesser amount is good for a flooding consistency, and the larger amount is for outlining, but you can add even more for a much thicker consistency good for writing. If you add too much icing sugar or would like to make a thinner consistency, add very small amounts of water, a few drops at a time, until you reach the consistency you need.
3. Beat on low until combined and smooth.
4. Use immediately or keep in an airtight container.
Tip: Royal Icing starts to harden as soon as it’s in contact with air so make sure to cover containers with plastic wrap while not in use.

~~~~~~~~~~~~~~~~~~~~~~

Decorated Cookies Picnik Collage 7
DECORATING YOUR COOKIES

Flooding” a cookie is a technique used when covering a cookie with Royal Icing.
1. You outline the area you want to flood which helps create a dam.
2. Then fill or flood inside the area you’ve outlined.

What You'll Need:
- Piping bags / Parchment Cones / Ziplock Bags
- Elastic bands
- Piping tips (between sizes 1 & 5)
- Couplers
- Glasses (handy for standing your piping bags in)
- Clean clothes, dry & damp
- Toothpicks
- Gel or paste food colouring

The most important thing when it comes to decorating with Royal Icing is the consistency. There are two ways of flooding your cookies. Some like to do the outline with a thicker icing and then flood with a thinner icing. Some like to use the same icing to do both which saves time and you don’t have to have two different piping bags for each colour you’re using.

The Same Consistency Method:
1. Mix your royal icing according to the recipe/instructions.
2. Drag a knife through the surface of the Royal Icing and count to 10.
3. If the surface becomes smooth between 5 & 10 seconds, the icing is at the correct consistency. Tip: If your icing is too thick, thin it by adding a few drops of water. Mix, do the 10 second test, then if it’s still too thick, add a few more drops of water, repeat, etc. To thicken your icing, add small amounts of icing sugar until thick enough for the 10 second test.

Two Different Consistencies Method:
1. Mix your royal icing according to the recipe/instructions.
2. Separate into 2 different bowls, one lot of icing for outlining, the other for flooding.
3. For the outlining icing, drag a knife through the surface of the Royal Icing.
4. If the surface becomes smooth at around 10 seconds, the icing is at the correct consistency. Tip: If your icing is too thick, thin it by adding a few drops of water. Mix, count to 10 seconds, then if it’s still too thick, add a few more drops of water, repeat, etc. To thicken your icing, add small amounts of icing sugar until thick enough for the 10 second test.
5. For the flooding/filling icing, drag a knife through the surface of the Royal Icing.
6. If the surface becomes smooth at around 3-4 seconds, the icing is at the correct consistency. Tip: If your icing is too thick, thin it by adding a few drops of water. Mix, count to 3-4 seconds, then if it’s still too thick, add a few more drops of water, repeat, etc. To thicken your icing, add small amounts of icing sugar until thick enough for the 3-4 second test.

Colouring
:
1. Separate Royal Icing into separate bowls for each colour you plan on using.
Tip: Make sure to cover the bowls with cling film or a damp cloth to prevent the top from setting and then making lumps.
2. Using a toothpick, add gel or paste colouring to each bowl and mix thoroughly until desired colour is reached.
Tip: You can use liquid food colouring but you might not be able to get the desired strength of colour, liquid colouring will also thin out the icing so you’ll need to add more icing sugar to thicken it again.
Prepping and Filling Your Bag:
1. Attach your icing tips to the piping bags using couplers
.
Tip: You don’t need to use a coupler but it makes it easier if you want to change tip sizes.
A size 1 tip is best for doing intricate details. A size 2 tip is good for some details and outlining. Fill or flood with sizes 2 – 5.
You don’t need a piping bag, you can use a parchment cone or ziplock bag with a tiny bit snipped off the corner. I would however recommend getting a piping set if you don’t have one as it will be much easier and more precise.
2. Stand the piping bags in glasses with the tops of the bags folded over the top of the glass.
3. Fill your icing bags with each coloured icing.
4. Tie the ends of the piping bags with elastic bands.

Decorated Cookies Picnik-Collage 6 bis
Decorating: Outlining:
1. Fit the piping bag with a size 2 or 3 tip.

Tip: Or snip a very small bit of the corner off of a parchment cone or Ziploc bag.
2. Hold the piping bag at a 45 degree angle above the cookie where you want to start the outline. 3. Gently squeeze the piping bag and start moving in the direction you want to outline the cookie.
4. Start lifting the piping bag away from the cookie so that the flow of icing falls onto the cookie, making it an even and neater outline.
5. As you start to reach the beginning of the outline, bring the piping tip closer to the surface of the cookie to meet the start of the icing outline.
Tip: If you’re doing an intricate cookie, like a snow flake, you won’t be able to lift the tip as far away from the cookie.
6. If you’re doing a different colour border, eg a black border, let the outline dry before flooding. If using the same colour for the outline as you’re flooding with, begin flooding after doing the outline.

Decorating - Flooding:
1. Fit the piping bag with a size 2-5 tip, the bigger the area being filled, the bigge
r the tip.
Tip: Or cut slightly more off the corner of a Ziploc bag to create a slightly larger opening. • Quickly zigzag back and forth over the area you want to fill.
You need to be quick when flooding the cookie so don’t worry too much if it’s not filled in neatly.
2. Using a toothpick or clean paintbrush, push the icing around into the gaps that are still remaining.
3. Either pick up the cookie and tip it from side to side to even out the filling, or lightly bang the cookie down on your kitchen counter.

Decorating - Melding Colours:

1. If you would like to add lines or dots to the base colour that you flooded the cookie with so that they meld and dry as a smooth surface, you need to add the lines/dots/patterns as quickly as possible after flooding and smoothing the surface of the cookie.
Tip: Make sure to have all the colours you’re planning on using ready and close by so that you can switch between colours quickly.
2. Simply pipe other colours onto the flooded surface in patterns or lines which you can either leave as that or then drag a toothpick through to make marbling patterns.

Decorating - On top of flooding:

1. If you’d like to do other patterns/outlines or writing on top of the flooded surface so that they are raised above the flooded background, simply allow the icing to dry, preferably over night.
2.
Fit the piping bag with tip sizes 1-3.
3. Pipe patterns or write on top of the dry icing.
Tip: For writing, the consistency of your icing should be thicker rather than thinner, drag a knife through your icing and when the surface smoothes around 12-15 seconds, the consistency is correct.

~~~~~~~~~~~~~~~~~~~~~~

Decorated Cookies Picnik-Collage 4 bis
PACKAGING & STORING

Once fully decorated, allow cookies to dry for 24 hours in a cool and dry area.

• Stack cookies in an airtight container, from largest cookies at the bottom, to smallest and more intricate at the top, with parchment or wax free paper in between the layers.
• Store in a cool and dry area with the container’s lid firmly sealed.
• Will last for about a month if stored this way.

~~~~~~~~~~~~~~~~~~~~~~

REMARKS REGARDING THE ICING

Keep a damp cloth handy while decorating your cookies so that if you’re switching between different icing bags, you can keep the tips covered with the damp cloth so that the icing doesn’t dry and clog them.
If your icing tips do clog, use a toothpick or pin to unclog them.
• Always pipe a little bit of royal icing onto a board/paper towel before you begin to make sure there are no air bubbles.
• Remember to always cover bowls containing royal icing wither cling wrap, a damp cloth or sealable lid so that the surface doesn’t dry.
• Don’t store anything decorated with royal icing in the fridge otherwise the royal icing will become tacky.

~~~~~~~~~~~~~~~~~~~~~~


Etant donné la longueur du texte original, je n'ai malheureusement pas pu faire une traduction française de ce billet et je m'en excuse auprès de tous mes amis lecteurs et blogueurs francophones!

C'est pourquoi je vous suggère de vous rendre sur le blog mentionné ci-dessous. Vous y trouverez cette recette en version française.

Chez Isa de "Les Gourmandises d'Isa" (Canada)
Chez Vibi de "La Casserole Carrée" (Canada)
Decorated Cookies Picnik-Collage 2 bis

Friday, September 24, 2010

COWS IN GENEVA

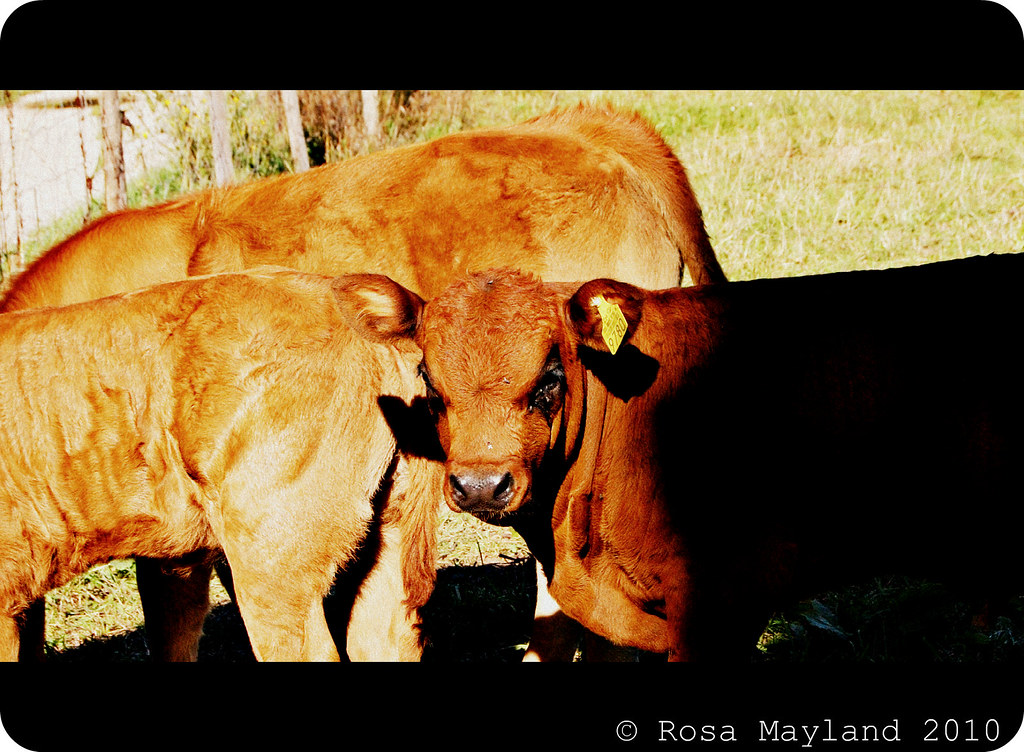
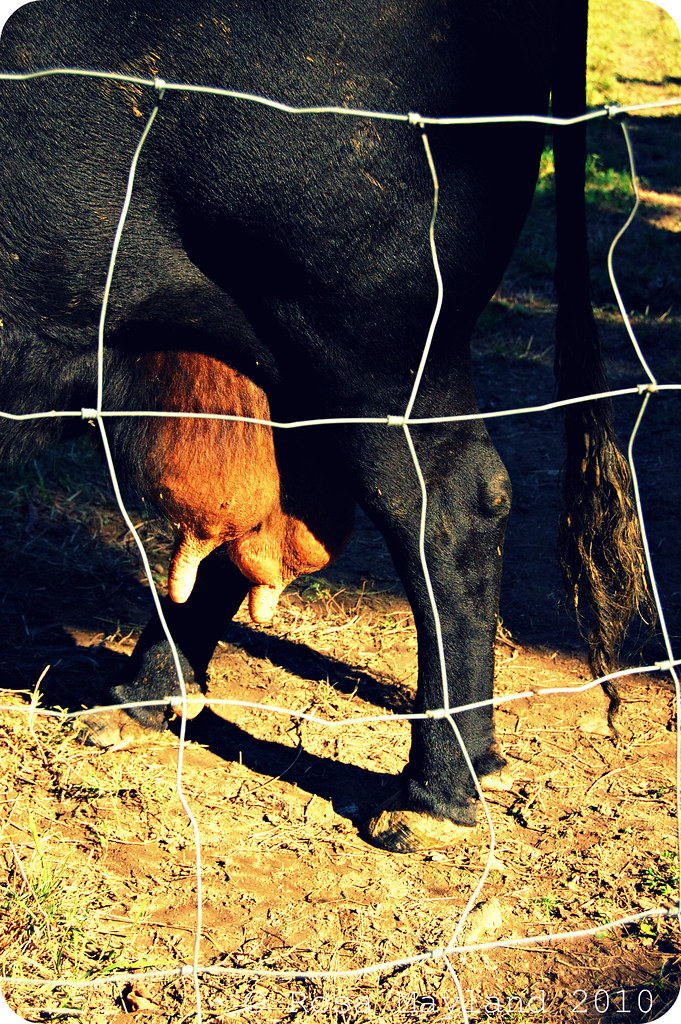
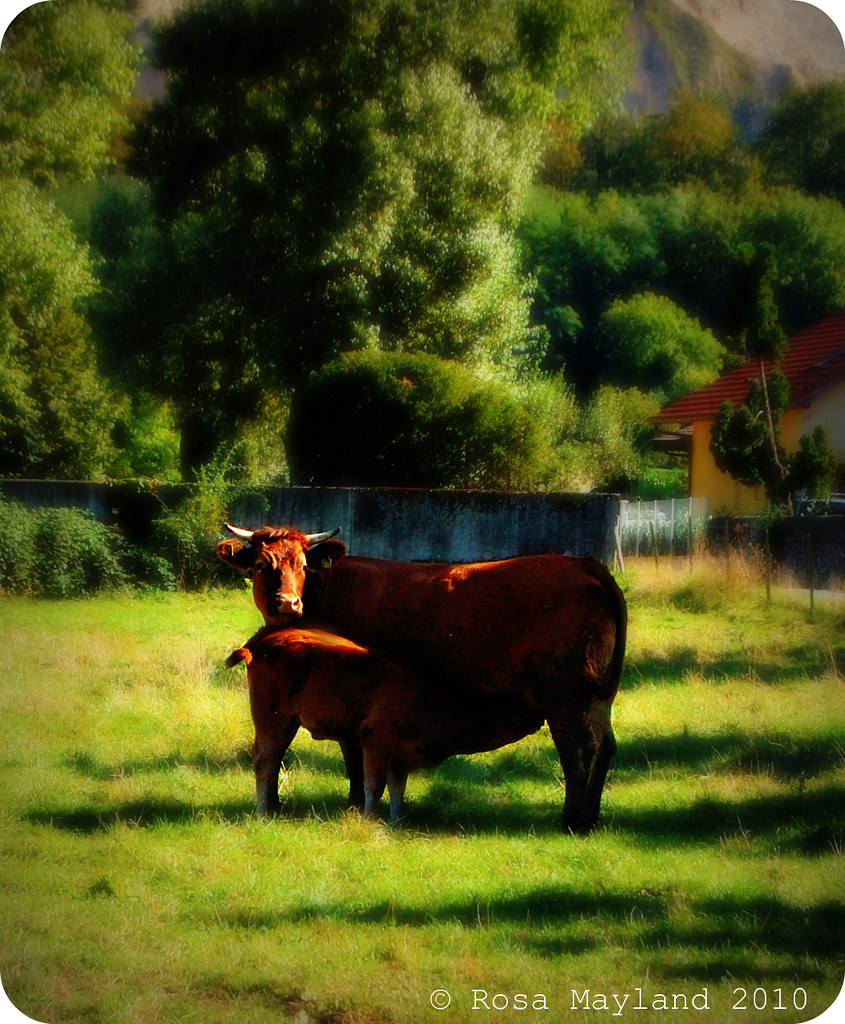
Geneva is a small canton (282 km² & 460 400 inhabitants), is not situated in the mountains, and might not be the Nr.1 area in Switzerland when it comes to agriculture, but you will nonetheless see farms, dairies and cattle in it's countryside (not much though). As a matter of fact they seem to proliferate...

It is
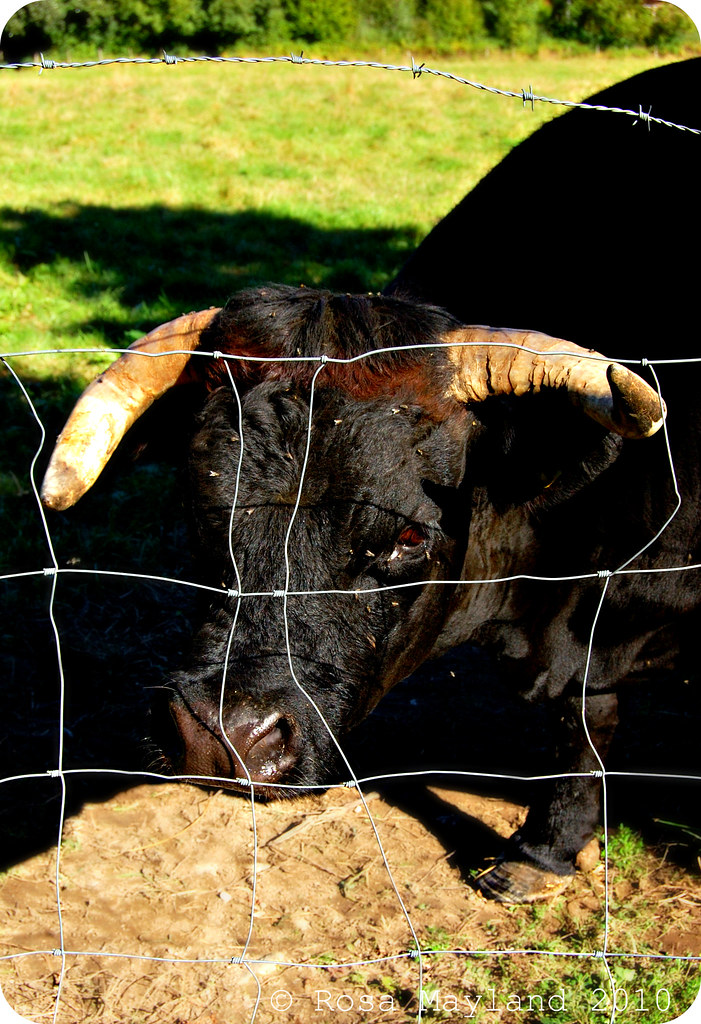
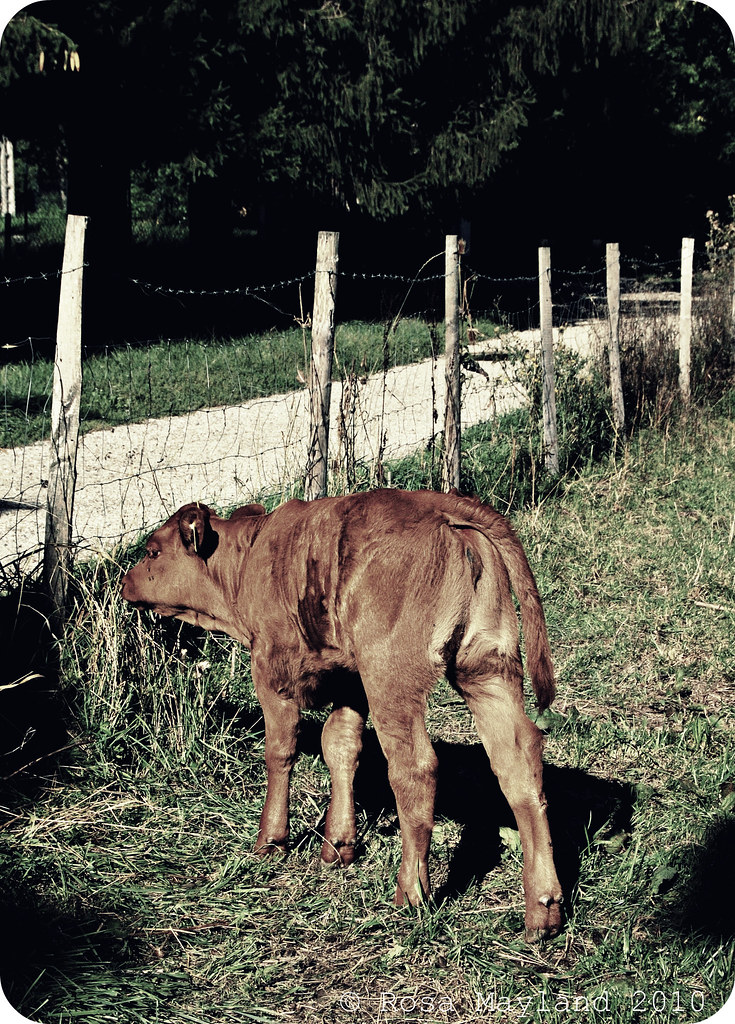
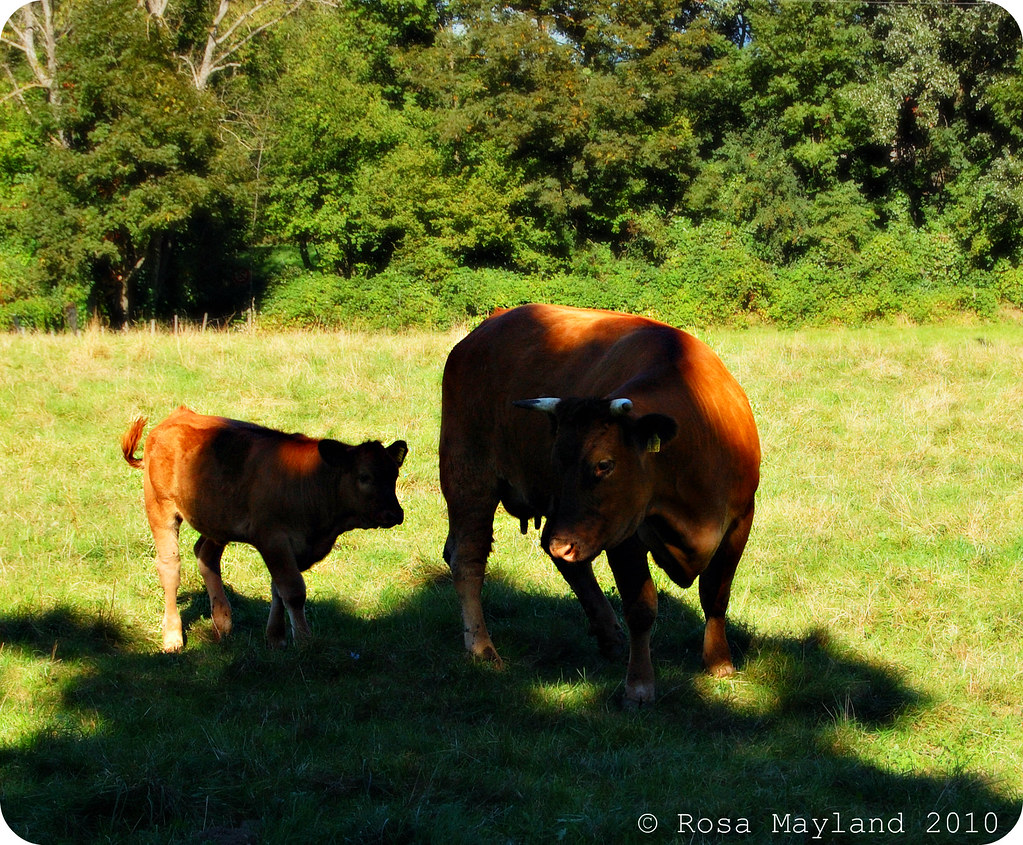
not an unusual thing to see cows peacefully grazing in the lush green meadows that surround the town of Geneva (less than 3 kilometers away from the city). Even a few minutes away from my home, close the Arve river and amongst the Veyrier vineyards you'll find one of the most beautiful breeds of cow: the Hérens.

This rustic, stocky, very muscular, strong-horned, black (and sometimes brown or dark red) cow with a short and broad head hails from the Val d'Hérens in Valais.
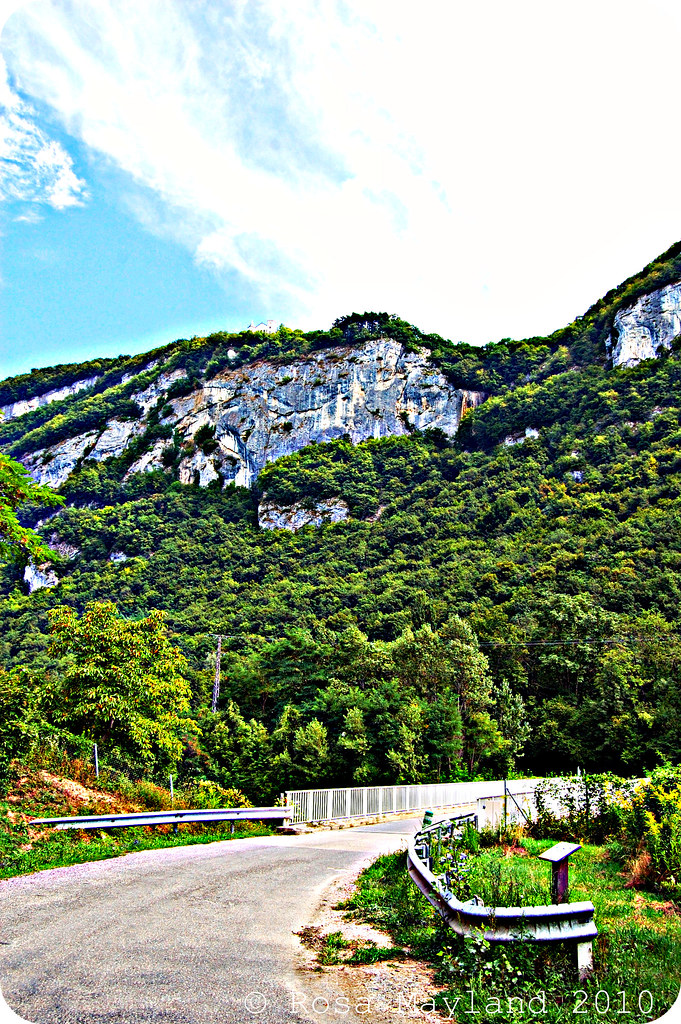
It is primarily raised for meat, but the Hérens females are well-known for their love for fight. Although they are gentle with humans, they show a lively and quite aggressive temperament toward their fellow cows. In spring, the Hérens fight one against another in five weight categories during the "combat des reines" (video here). The winners are sold for high prices. Today cow fights are a major tourist attraction in the Valais.

I really love those cows which's massive body contrasts with their calm and sweet behaviour. They are so majestic, fascinating, magnificent and likeable.

The cows I photographed were great subjects. As I approached the fence and called them, they immediately walked slowly in my direction and asked to get patted. Their sheer colossalness is quite intimidating at first, but you soon forget that detail when you get to caress them and see how affectionate they are...

Cows 5.2 bis

Cows 7.2 bis

Cows 3.1 bis

Cows 2.1 bis

Cows 4 (4)

Cows 6.2 bis

Cows 1.1 bis

Tuesday, September 21, 2010

TOMATO TART - TARTE A LA TOMATE

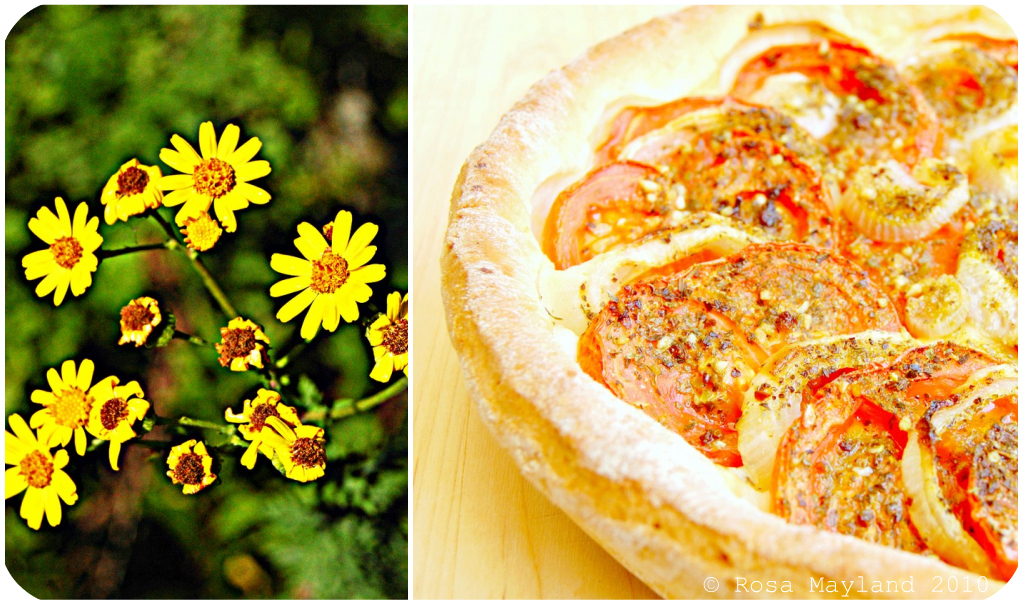
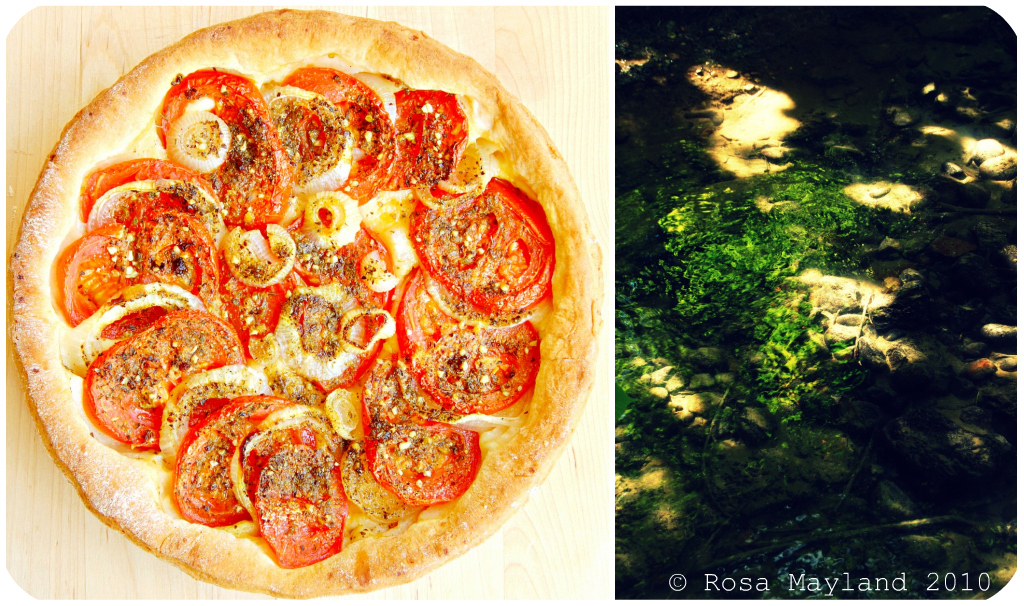
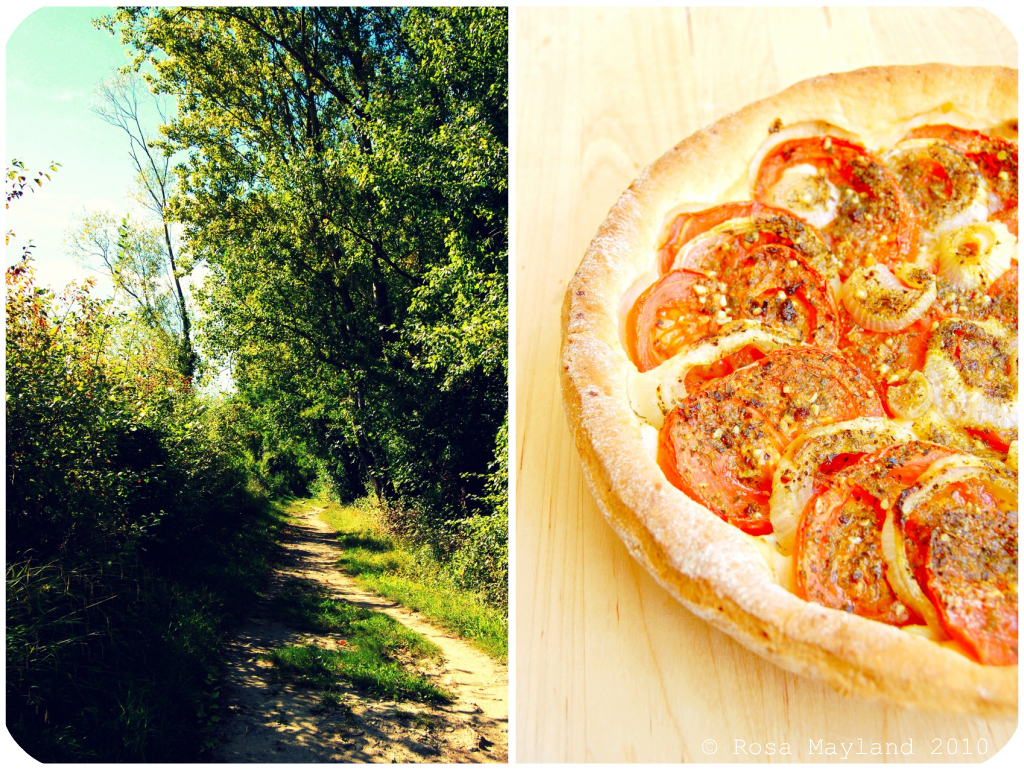
Tomato Tart Picnik-Collage 1 bis
Whether you want to admit it or not, autumn has definitely arrived. Since a few weeks there are undeniable signs that cannot be refuted. Although, officially autumn starts tomorrow, we have nonetheless been experincing it for quite a while now (already since the 2nd part of August)...

It is impossible not to notice that the quality of the light has changed (golden, redder and hazier), that there is mist licking the Salève and building up around the rivers, that the temperatures are much fresher (even chilly) in the morning and evening, that the leaves on the trees are slowly turning yellow and falling, and that the birds don't sing in the same way as during the summertime.


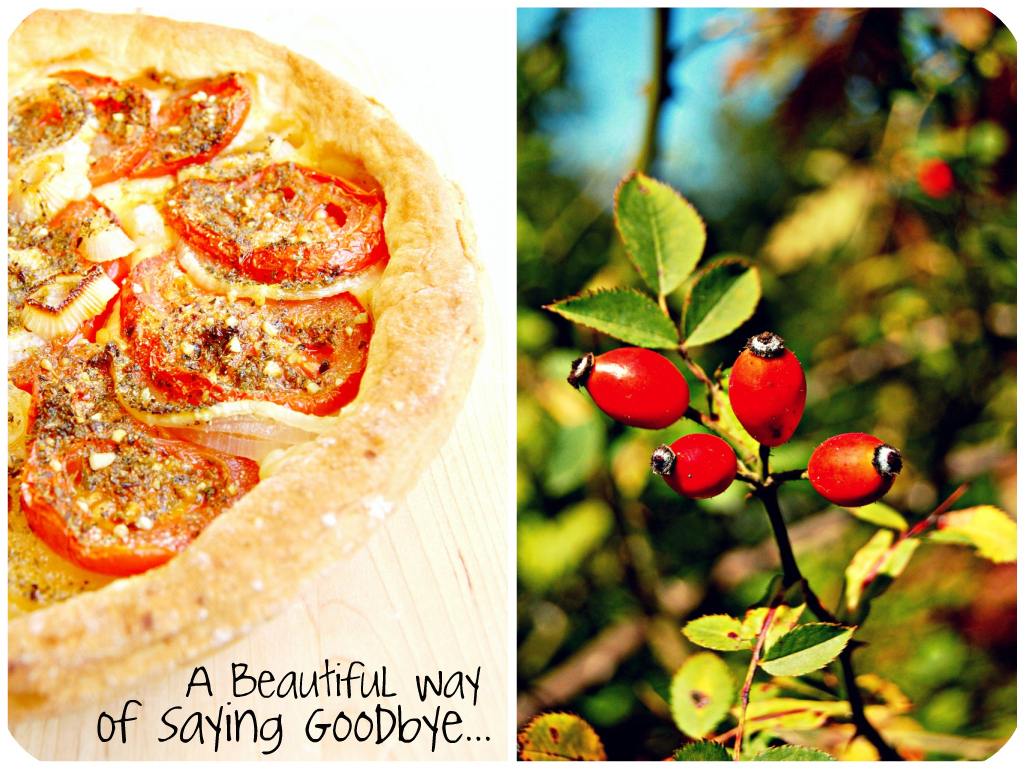
Although I love fall it is always heartbreaking to say goodbye to
summer, to the dreams as and hopes that are linked to this sunny season as well as to all the happy-go-lucky feeling that it gives you. When you realize that summer is finished you get quite a shock and have to start a process of mourning (in fact I feel the same every time a season ends - I am a very nostalgic person). Anyway, autumn offers so much to rejoice about (beautiful fruits, vegetables, sceneries, cocooning, etc...) that I am very excited it has appeared!

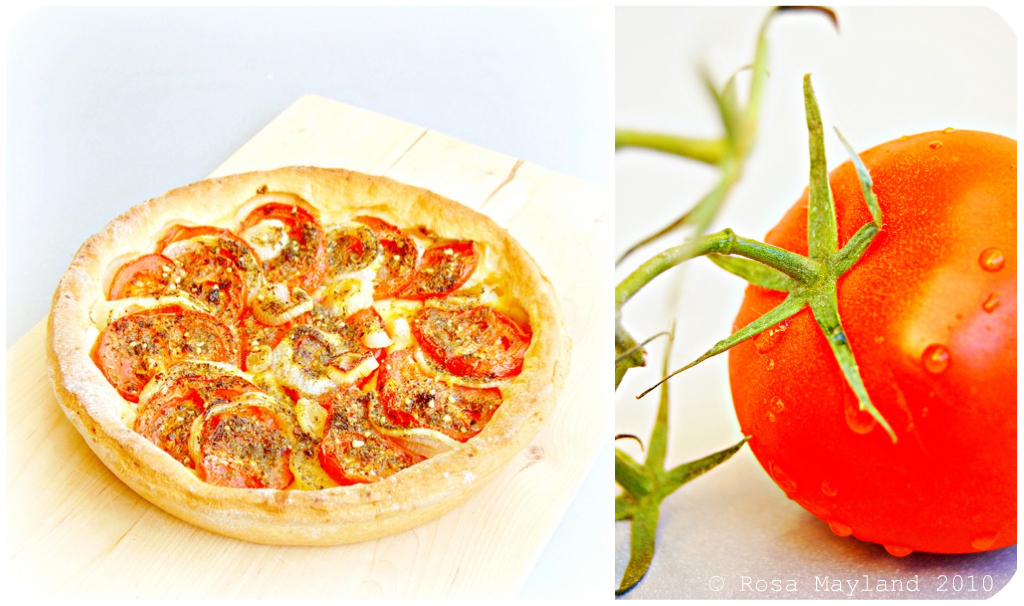
Well, today, as my a farewell to summer and a welcome to autumn, I have decided to post a "Tomato Tart" recipe. Regional tomatoes are still available, but will very soon be taken away from our stalls, so we'd better profit once more of this fantastic fruit before it is too late.

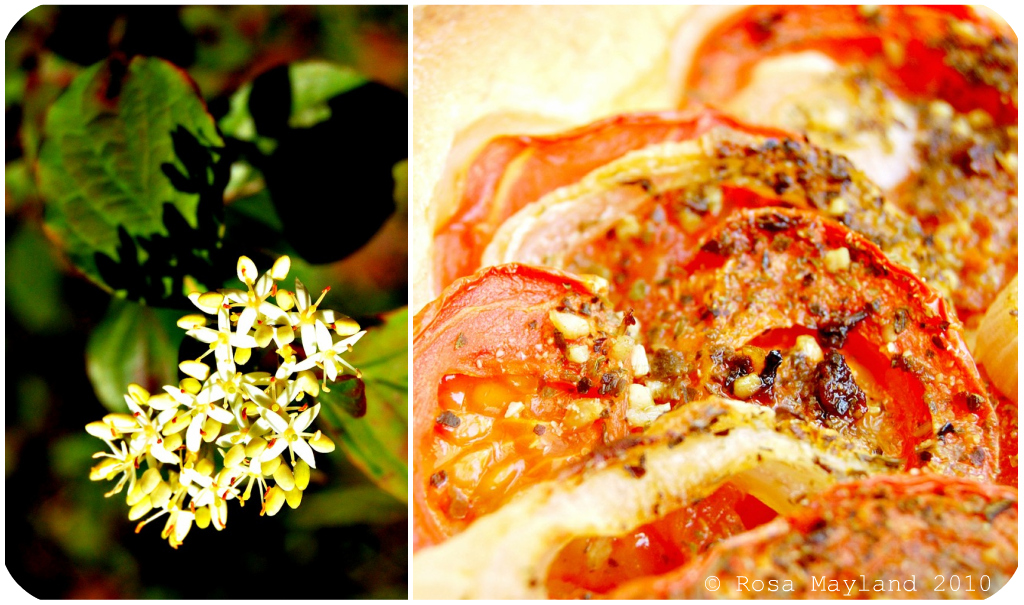
This "Tomato Tart" is wonderfully flavorful and so easy to make. The pastry is delightfully buttery, flaky and pleasantly salty, the sweetness of the tomatoes is counter balanced by the light acidity of the balsamic cream and the different condiments add a herby as well as spicy roundness to the whole. A real ray of summer sunshine on our fall table!

Tomato Tart Picnik-Collage 6 bis
~ Tomato Tart ~
Recipe by Rosa @ Rosa's Yummy Yums 2010.

Makes a 26cm tart.

Ingredients For The "Shortcrust Pastry":
300g Plain white flour (no self-raising flour)
1 Tsp Salt (you can add 1/2 Tsp more if you like the taste of salt)
150g Unsalted butter (or 100g Unsalted butter & 50g Lard)
~80 ml Water

Ingredients For The "Filling":
5-6 Tomatoes, cut in thin slices
1 Big onion, thinly sliced
2 Cloved garlic, finely chopped
A few leaves basil, chopped finely
Dried Italian herbs, to taste
5-6 Tbs Olive oil
3-4 Tbs Dark balsamic cream
Sea salt, to taste
Black pepper, to taste

Method For The "Shortcrust Pastry":
1. Sift the flour and salt into a bowl/bassin.
2. Add butter and rub between the fingers until the mixtur
e is flaky.
3. Pour in water, gradually, while continuously cutting and stirring with a knife. Stop adding water when the dough is stiff. It should not be sticky or wet. Gather up into a soft ball.

4. Dust your working area and rolling pin with flour and shape the pastry by rolling away from you and always turning the pastry around in order to achieve a round shape.
5. Place it in the tart pan and trim the edges.
6. Prick the bottom with a fork.

Tomato Tart Picnik-Collage 4 bis 1
Method For The "Filling":
7. Preheat the oven to 200° C (400° F).
8. Garnish the tart with the sliced onions and tomatoes.
9. Sprinkle evenly the chopped garlic, basil, herbs, olive oil and the cream of balsamic.
10. Salt and pepper to taste.
11. Bake in the middle of the oven for 20 minutes, then lower the temperature to 180° C (350° F) and bake for another 25-35 minutes, or until the crust is golden brown, crispy and the tomatoes have caramelized.
12. Let cool for about 5 minutes on a rack and serve warm.

Remarks:
Always lift the flour out of the bowl while rubbing; it makes the butter/fl
our mixture airy.
Be careful not to add too much water as the pastry should not be stick to the touch.
While mixing the water to the flour/butter mixture never work the pastry like a bread dough, otherwise you would end up with a stiff, hard and elastic pastry.


Idées de présentation:
Eat this tart with a salad (oakleaf lettuce and rocket).

~~~~~~~~~~~~~~~~~~~~~~

Tomato Tart Picnik-Collage 3 bis
~ Tarte A La Tomate ~
Recette par Rosa @ Rosa's Yummy Yums 2010.

Pour une tarte de 26cm.

Ingrédients pour la "Pâte Brisée":
300g de Farine blanche/fleur
1 CC de Sel de mer (ajouter 1/2 CC si vous aimez votre pâte un peu salée)
150g de Beurre non-salé, coupé en petit dés (ou 100g de beurre + 50g de saindoux)
~80ml d'Eeau très froide ou assez afin que la pâte forme une boule
Ingrédients Pour La "Graniture":
5-6 Tomates, coupées en tranches assez fines
1 Gros oignon, coupé en fines tranches
2 Gousses d'ail, hachées finement
Quelques feuilles de basilic, hachées finement
Mélange d'herbes italiennes, selon goût
5-6 CS d'Huile d'olive
3-4 CS de Crème de balsamique

Sel de mer, selon goût
Poivre noir, selon goût

Méthode Pour La "Pâte Brisée":
1. Tamiser la farine et le sel dans un bol moyen.
2. Ajouter le beurre et frotter la farine et le beurre entre les doigts afin d'obtenir un mélange qui ait la texture sabloneuse.
3. Verser l'eau, g
raduellement, tout en mélangeant bien (n'ajoutez plus d'eau quand la pâte aura atteint la bonne consistance/ni trop mouillée, ni trop collante). Former une boule.
4. Fariner votre rouleau à pâtisserie et votre plan de travail. Etalez la pâte avec un rouleau à
pâtisserie (du milieu jusqu'à l'extérieur) afin d'obtenir une forme ronde.
5. Posez la pâte sur votre moule et découpez l'excédent de pâte.
6. Piquez la pâte avec une fourchette.

Tomato Tart Picnik-Collage 2 bis
Méthode Pour La "Garniture":
7. Préchauffer le four à to 200° C.
8. Garnir la tarte avec les tranches de tomates et d'oignon.
9. Saupoudrer avec l'ail, le basilic, les herbes, l'huile d'olive et avec le crème de balsamique.
10. Saler et poivrer selon goût.
11. Cuire au milieu du four pendant 20 minutes, puis baisser la température à 180° C et cuire pendant encore 25-35 minutes, ou jusqu'à ce que la croûte soit dorée, croustillante et que les tomates aient un peu caramélisé.
12. Laisser refroidir sur une grille pendant 5 minutes et servir chaud.

Remarques:
Soulevez toujours la farine lorsque vous la frottez avec le beurre: ça apporte de l'air au mélange.
Faites bien attention de ne pas ajouter trop d'eau à votre pâte. Elle ne doit pas être collante.
Pendant que vous mélangez l'eau au mélange farine/beurre, ne la travaillez pa
s telle une pâte à pain, autrement votre pâte sera dure, élastique et pas manipulable du tout car vous aurez libéré le gluten contenu dans la farine.

Idées de présentation:

Manger cette tarte avec une salade (feuille de chêne et roquette).

tomato Tart Picnik-Collage 5 bis

Sunday, September 19, 2010

WEEKEND CAT BLOGGING #276

Kiki Professor 1.4 bis
- Fridolin, Fitter Than Ever -

This week, pam at "SideWalk Shoes" (USA) is hosting
Weekend Cat Blogging #276...

To submit your kitty picture(s), you can either leave a message in her blog's comment section (with your permalinks) or contact her via e-mail without forgetting to give all the needed information.

Friday, September 17, 2010

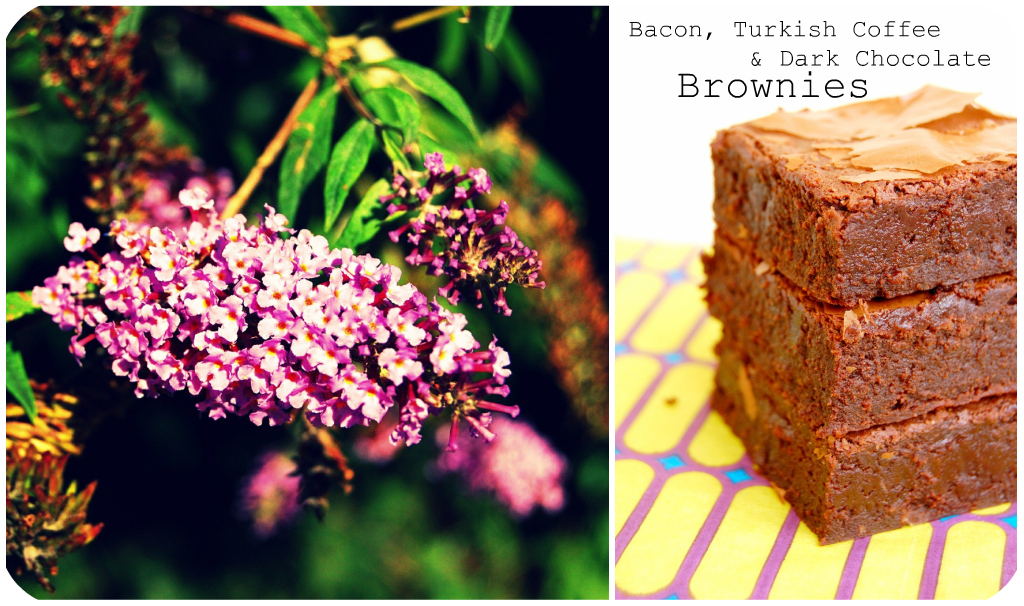
WICKED BACON & COFFEE BROWNIES

Bacon Brownies Picnik collage 4 bis
I've always been a sucker for rich and highly flavorful noshes such as brownies or smoked bacon. I like my food to be tasty, comforting and naughty, so there is no wonder that those two items occupy the top of my list when it comes to my favorite grubs...

As much as I care about my health and diet I cannot resist a viscious treat especially if it's good. I believe that we aren't meant to go through our existence without having a little indulgence here and there. It would not be worth going through life's pitfalls if we were only meant to suffer. As a matter of fact if it were not for the very gratifying and comforting pleasures of life we would surely not stay on the boat for so long. It would be a pretty tough ride otherwise. Everybody needs an encouraging reward now and then. And if I go to Hell for thinking or behaving hedonistically, I don't mind as I'm 100% sure it is full of epicureans as all the sad and bitter people end up in Heaven!!!
"All work and no play makes Jack a dull boy."
- English Proverb -
Anyway, now that the weather and Nature's look are autmnal I am really starting to crave chocolaty desserts and "dirty" baked goods. So, the other day I got the idea to make brownies that would be original and diabolically droolworthy. For that I inspired myself from Alice Medrich's "Bittersweet Brownies" (this recipe can be found in her "Pure Desserts" cookbook) and created a totally new recipe that came out of my airy-fairy imagination.

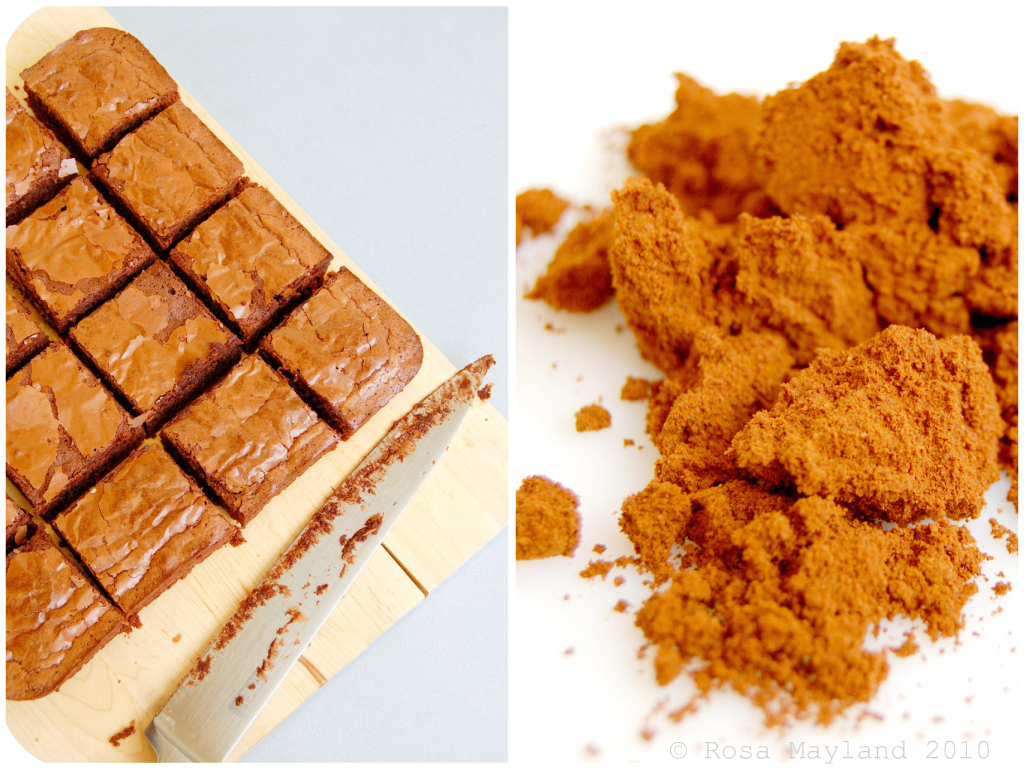
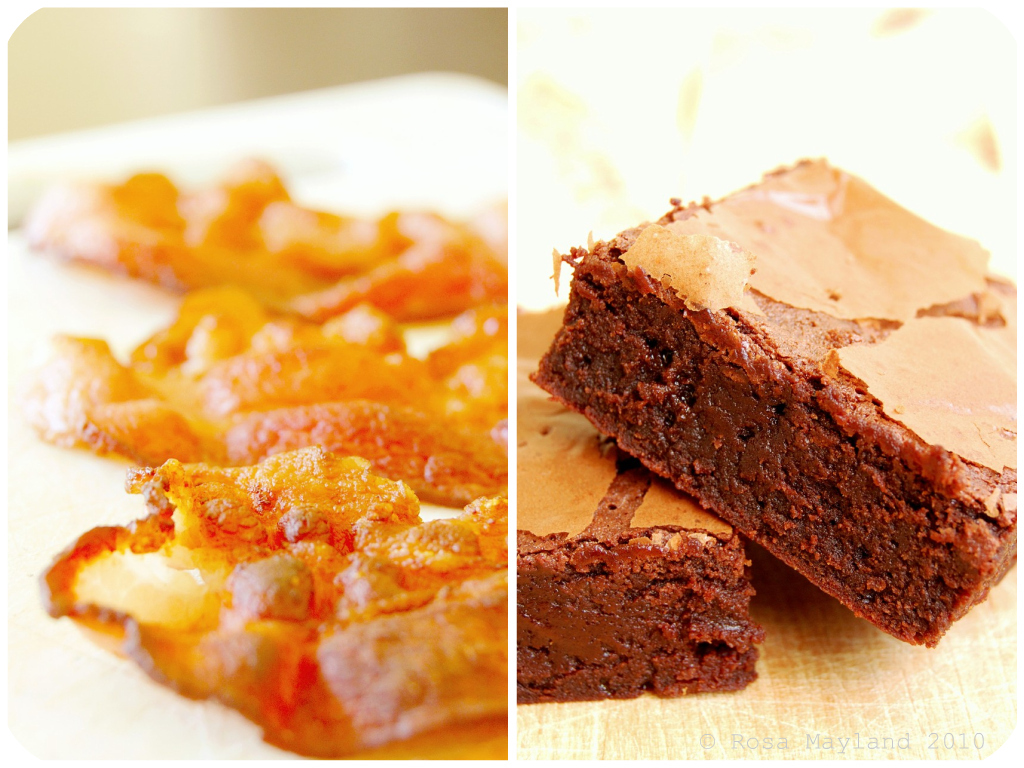
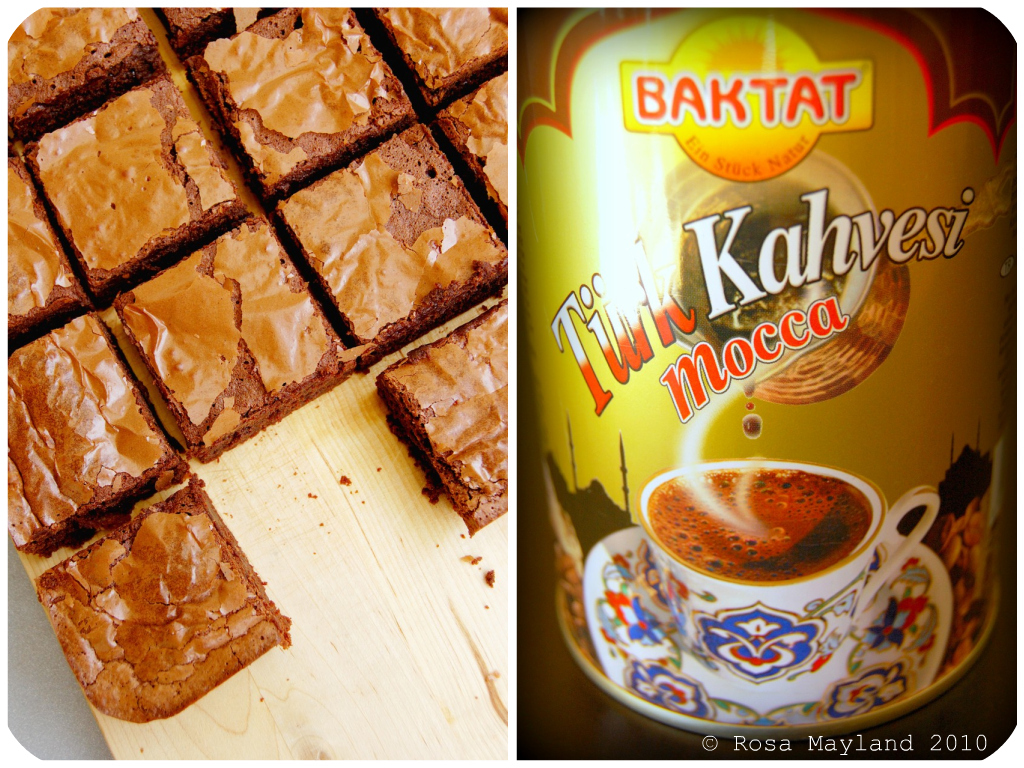
As I had been meaning to try confectioning a sweet goodie with bacon since quite a while I thought that it would be awesome if I added that visciously delicious and crispy charcuterie to my brownies. In order to counter balance the round and exhalirating aromas of smoked bacon I also used 72% dark chocolate, Turkish coffee (not the brewed version but the fine coffee powder), pure vanilla bean paste from Australia and pink salt from Himalaya.

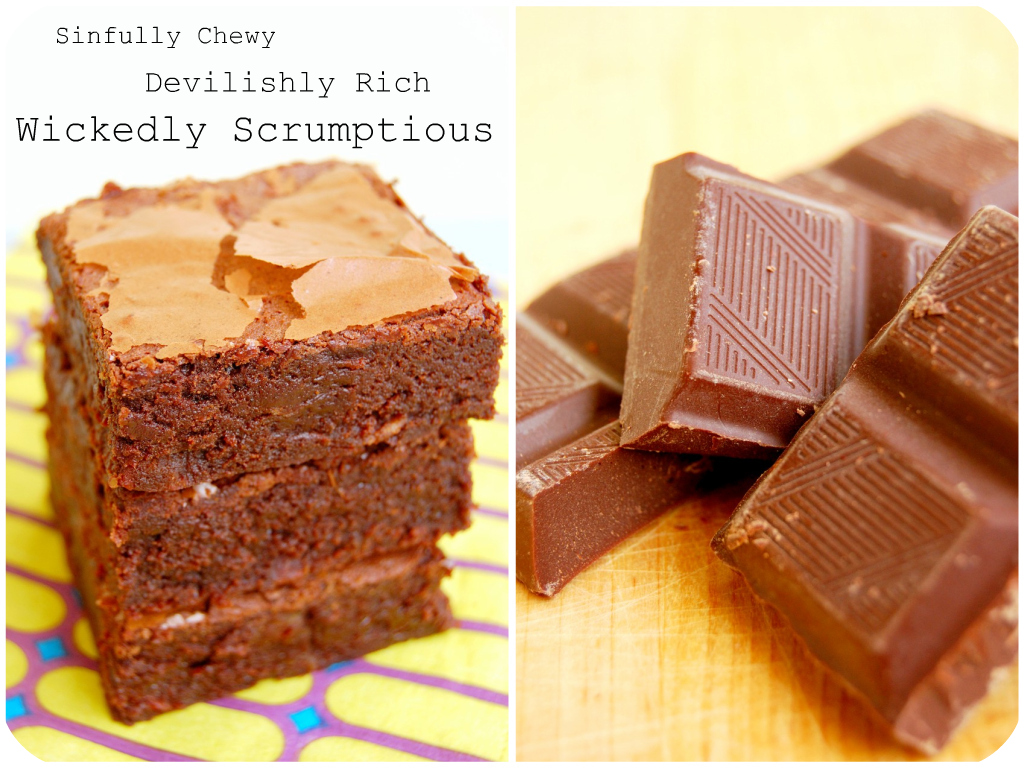
In my opinion, real Brownies that make make you drool incontrolably and have that oomph quality to them have to be super fudgy, moist, chewy, sludgy, dense, full of character, ever so slightly "cakey", intensely flavorful and mindblowingly calorific. If they are not in this way, then there's no fun and they are then granny chocolate cakes (I don't mean to insult grannies, though) and that's all.

Thankfully, those "Wicked Bacon, Turkish Coffee & Dark Chocolate" carry their name very well as they are indeed pornographically gorgeous and simply to die for. Those are Brownies with balls. They are soooooo bad!

Bacon Brownies Picnik collage 5 bis
~Wicked Bacon, Turkish Coffee & Dark Chocolate Brownies ~
Recipe by Rosa @Rosa's Yummy Yums 2010.


Ingredients:
240g (8oz) 72% Bittersweet chocolate, coarsely chopped
6 Tbs (90g) Unsalted butter, cut into several pieces
3 Large eggs (63g)
1 Cup (210g) Castor sugar
1/2 Tsp Himalayan salt
1 Tsp Pure vanilla bean paste
1/3 Cup + 1/4 Tbs (46g) All-purpose flour
3/4 Tbs Turkish coffee (fine ground coffee from Turkey)
2.5oz (75g) Smoked bacon

Method:

1. Fry the bacon in a large skillet over medium heat until crispy. Remove with a slotted spoon to paper towels, and cool completely. Cut in small pieces.
2. Preheat the oven to 180° C (350˚F) and position a rack in the lower third of it.
3. Butter a 20 x 20cm (8inch) square baking pan and cover the bottom with parchement paper. 4. Place the chocolate and the butter in bain-marie bowl and place it in a pan of almost-simmering water.
5. Stir constantly until mixture is melted, smooth and warmish. Remove the bowl from the pan and set aside.

Bacon Brownies Picnik collage 1 bis
6. With a mixer, beat the eggs, sugar, salt and vanilla together on high speed until the mixture is thick and pale in color, about 2 minutes.
7. Whisk in the warm chocolate, then fold in the flour and the coffee. Whisk energetically in order to get a shiny, viscous and homogenous batter. Then mix in the bacon.
8. Scrape the batter into the greased and paper lined pan and spread the batter evenly.
9. Bake until a toothpick inserted in the center comes out clean, about 25 to 30 minutes.
10. Cool in the pan on a rack.
11. Once the brownies are cold, invert them on rack and peel off the paper.
12. Turn right side up on cutting board and cut into sixteen 5cm (2inch) squares.

Remarks:
The original recipe didn't contain as much salt nor did it comprise bacon and coffee. You can make those brownies without those ingredients and with less salt (1/4 tsp), but don't forget to replace the coffee by the same amount of flour (1/3 Cup + 1Tbs).

Serving suggestions:
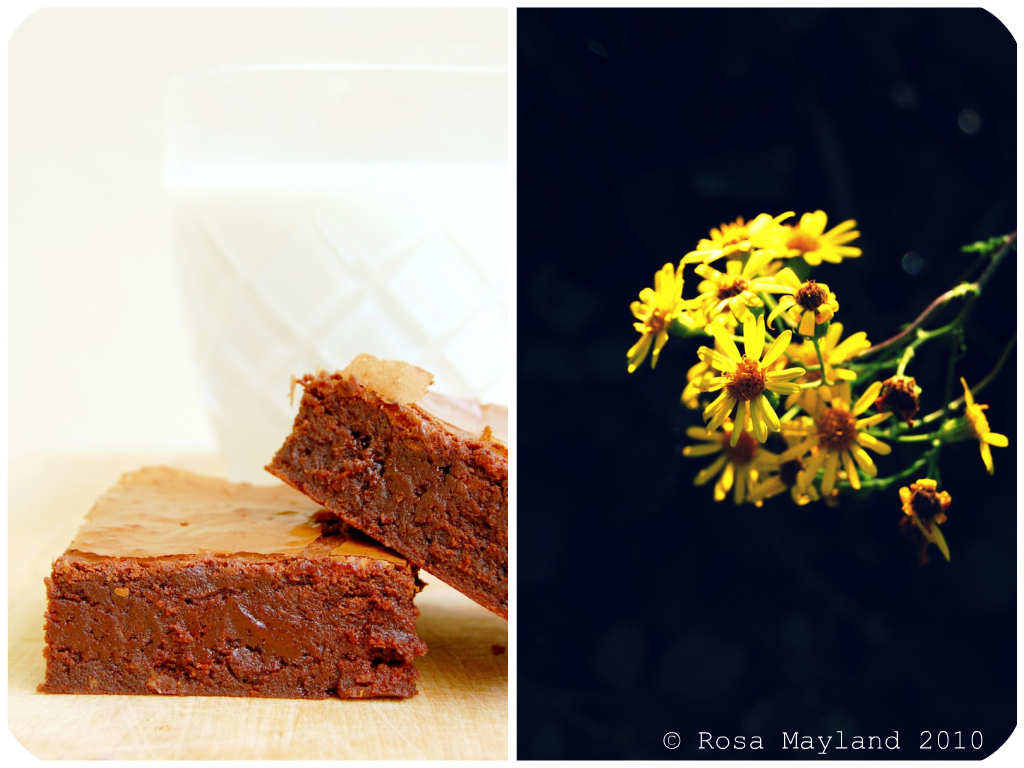
Eat those brownies whenever you need a chocolate fix and accompany them with a glass of very cold milk.

~~~~~~~~~~~~~~~~~~~~~~

Bacon Brownies Picnik collage 6 bis
~ Irrésistibles Brownies Au Bacon, Café Turc Et Au Chocolat Noir ~
Recette par Rosa @Rosa's Yummy Yums 2010.

Ingrédients:

240g de Chocolat noir à 72%, haché grossièrement
90g de Beurre non-salé, coupé en morceaux

3 Gros oeufs (63g)
210g de Sucre cristallisé

1/2 CC de Sel de l'Himalaya
1 CC de Pâte de vanille naturelle
46g de Farine blanche
3/4 CS de Café turc (poudre ultra fine)
75g de Bacon fumé, cru

Méthode:
1. Faire frire le bacon à température moyenne jusqu'à ce qu'il soit croquant. Le retirer de la poêle et le faire égoutter le bacon sur du papier ménage et le faire refroidir complètement avant de la couper en petits morceaux.
2. Placer la grille au tiers inférieur du four et le préchauffer à 180° C (350˚F).
3. Beurrer un moule carré à brownies de 20 x 20cm et recouvrir le fond de papier sulfurisé.
4. Mettre le chocolat dans un bain-marie et le placer au-dessus d'eau à peine frémissante.
5. Bien mélanger de manière constante jusqu'à ce que le tout soit fondu, lisse et chaud (pas trop tout de même).

Bacon Brownies Picnik collage 3 bis
6. Battre ensemble les oeufs, le sucre, le sel et la vanille avec un mixer pendant 2 minutes, jusqu'à ce que le mélange soit pâle et mousseux.
7. Incorporer le chocolat chaud au mélange oeufs/sucre et bien battre avec un fouet afin d'obtenir un mélange homogène. Ajouter la farine et le café. Bien battre afin que la pâte soit visqueuse, lisse et brillante. Ajouter le bacon et bien incorporer.
8. Verser la pâte dans le moule et bien lisser.
9. Cuire pendant 25 à 30 minutes, jusqu'à ce que le pointe d'un couteau inséré au milieu du brownie en resorte propre.
10. Faire refroidir sur une grille.
11. Une fois les brownies froids, les retourner sur une planche et enlever le papier sulfurisé.
12. Les retourner du bon côter et les couper en cubes de 5cm.

Remarques:

La recette originale ne contient pas autant de sel, et ne contient pas de café ou de bacon. Vous pouvez confectionner ces brownies en utilisant moins de sel (1/4 CC) et n'oubliez surtout pas de remplacer le café par la même quantité de farine.

Idées De Présentation:
Manger ces brownies à n'importe quelle heure de la journée ou de la nuit et consommer avec un bon vert de lait très froid.

Bacon Brownies Picnik collage 2 bis

Tuesday, September 14, 2010

SALÈVE, AN EERIE MOUNTAIN

Salève Walk 8.2 bis

Salève Walk 2.1 bis

Salève Walk 4.2 bis
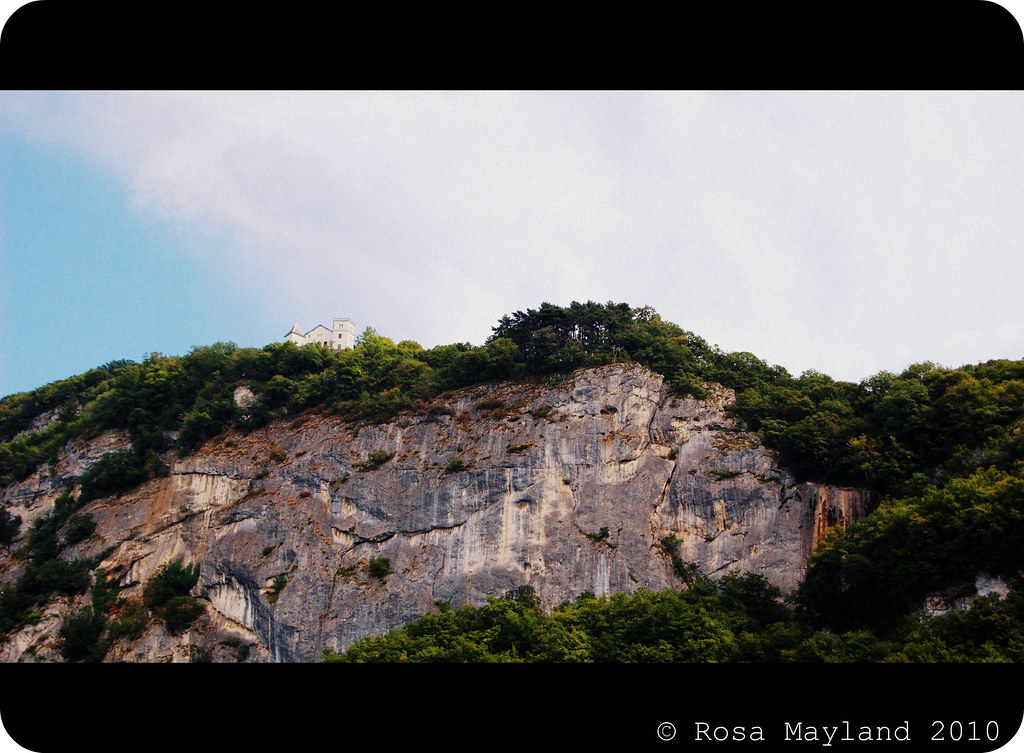
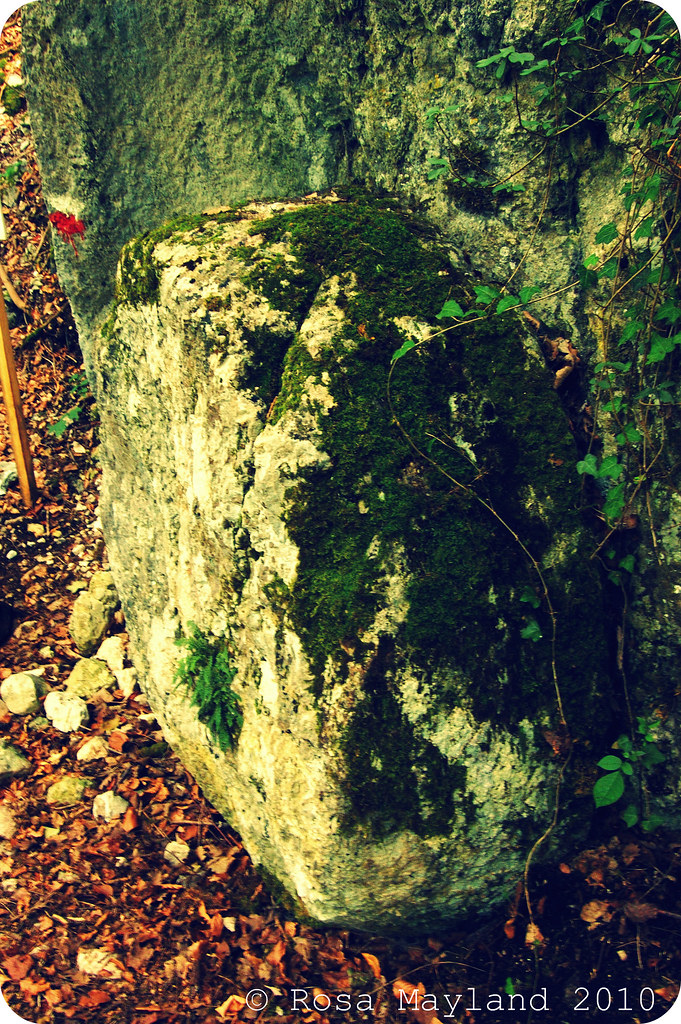
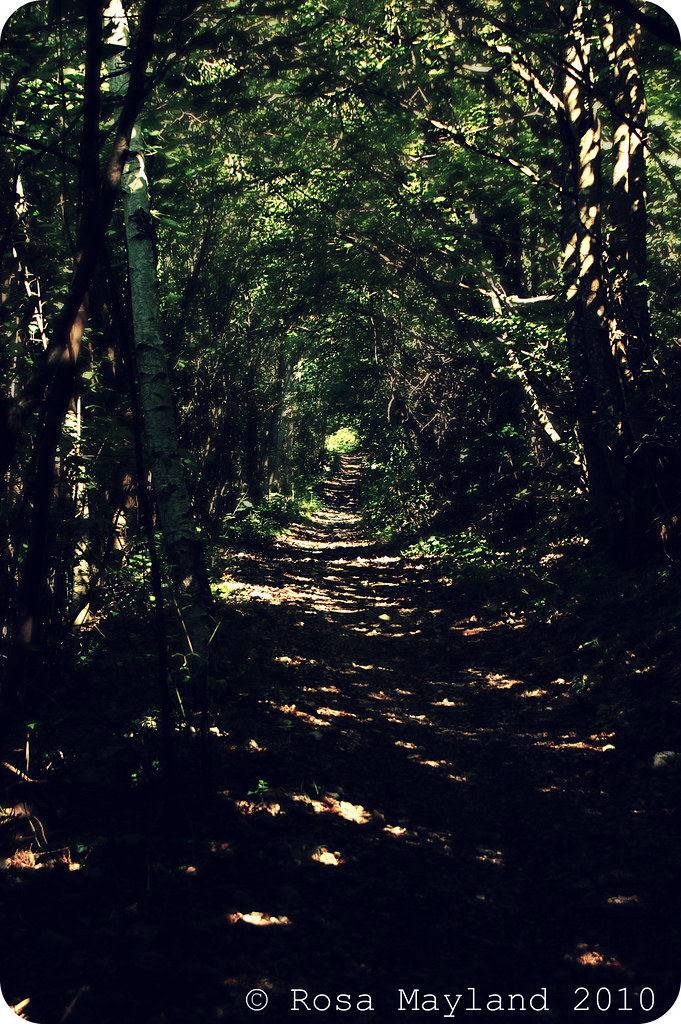
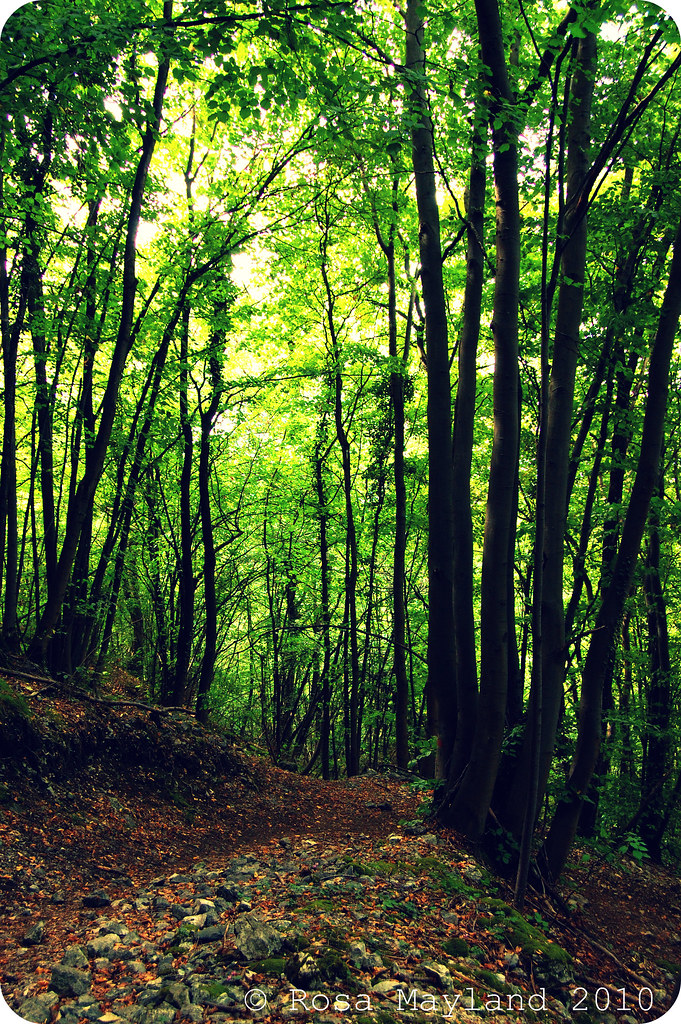
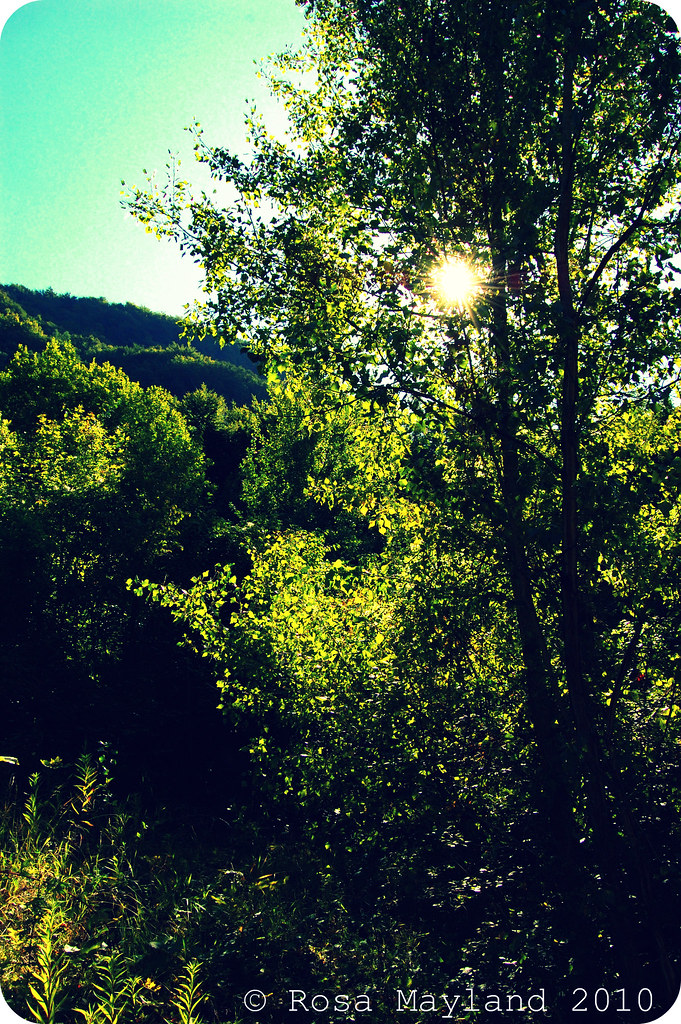
Less than a kilometer away from my house there lies a mountain known by the name of Salève. Those who have been reading my blog will know that I am a little "obssessed" by it and worship it's unusual beauty...
« I thought of pursuing the devil; but it would have been in vain, for another flash discovered him to be hanging among the rocks of the nearly perpendicular ascent of Mont Saleve, a hill that bounds Plainpalais on the south. »
- Mary Shelley, Frankenstein -
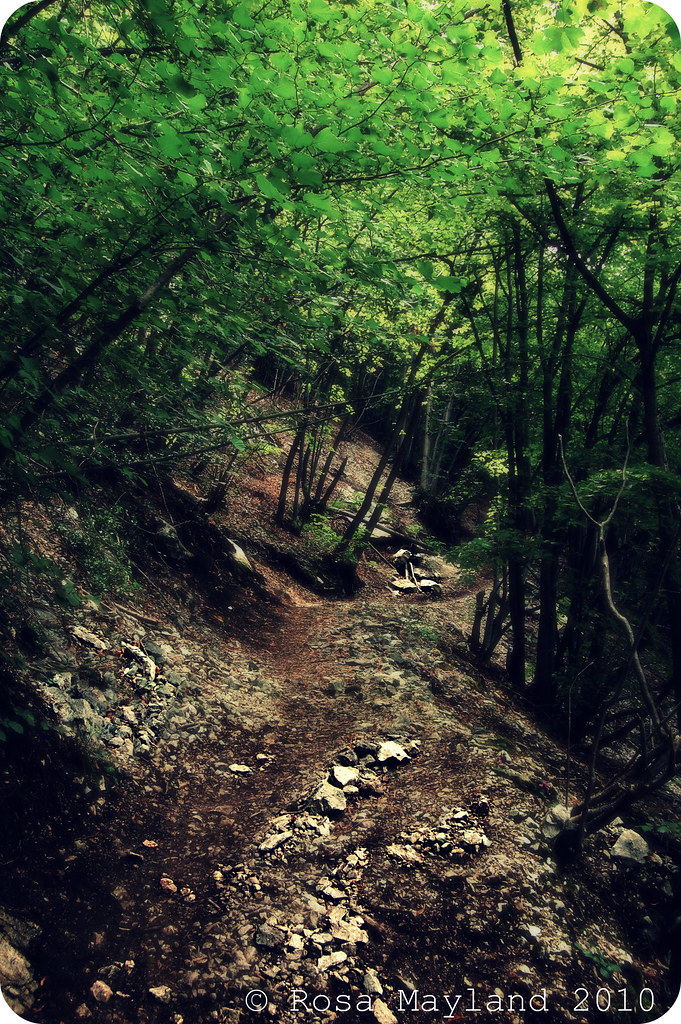
The Salève is really an interesting mountain which has many faces. It can look very cheerful, but at the same time it has a gloomy underlying atmosphere. One feels the heavy aura of the place. Sometimes you would think that there are faeries hidden behind trees and other times you can clearly imagine that ghosts or malign souls are sourrounding you. I guess that comes from the fact that it is very old (it dates from the secondary period/ -150 to -125 million year) and has gone through the ages collecting memories within it's stones (matter never forgets).

Salève Walk 7.3 bis

Salève Walk 5 bis

Salève Walk 9 bis
This mountain's name comes from the latin "Salebra" meaning "a place that is difficult to reach". According to popular legend, the giant Gargantua dug out the Lake Léman and placed the rubble in the same location as the Salève. The inhabitants of the region who were made spectators at the event cried aloud "Eh ! mais regarde donc comme ça lève! (Hey, look how it rises up!)".

The Salève saw many events as well as people pass and is loaded with history: dinosaurs, cave-men, Celts, Romans, witches, brown bears, climbers (already since the second half of the 19th century), walkers, murders, deadly hiking accidents (certain paths are very dangerous and the rock front of the mountain is treacherous), etc... Even British novelist Mary Shelley wrote about the Salève in her gothic novel "Frankenstein" (« It was echoed from Saleve, the Juras, and the Alps of Savoy; vivid flashes of lightning dazzled my eyes, illuminating the lake, making it appear like a vast sheet of fire; then for an instant everything seemed of a pitchy darkness, until the eye recovered itself from the preceding flash. », « Who could arrest a creature capable of scaling the overhanging sides of Mont Saleve? »).

No matter what you are looking fo
r, this mountain will not leave you feeling neutral.

Salève Walk 6.2 bis

Salève Walk 10.1 bis

Salève Walk 11 bis